Homemade Pita Bread Recipe

- Published
- 37 comments
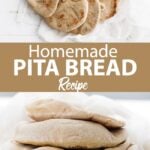
Making Homemade Pita Bread is a simple process I will show you step by step, from waiting for the dough to rise to watching it puff perfectly in a hot skillet. I love using fresh pita bread for making a sandwich or serving it with my favorite dip.
I remember making sandwiches with my dad using pita bread and stuffing them with so much lettuce, tomato, and lunch meat that they barely closed. Today I am going to show you how to make the best pita bread recipe at home. Whether I use it for a roast beef sandwich or my easy chicken club, this bread is incredibly versatile.
Pita Bread
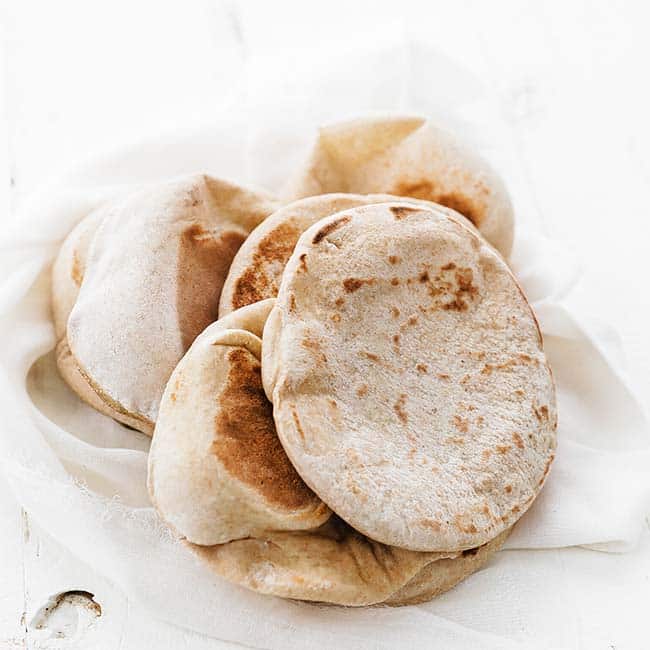
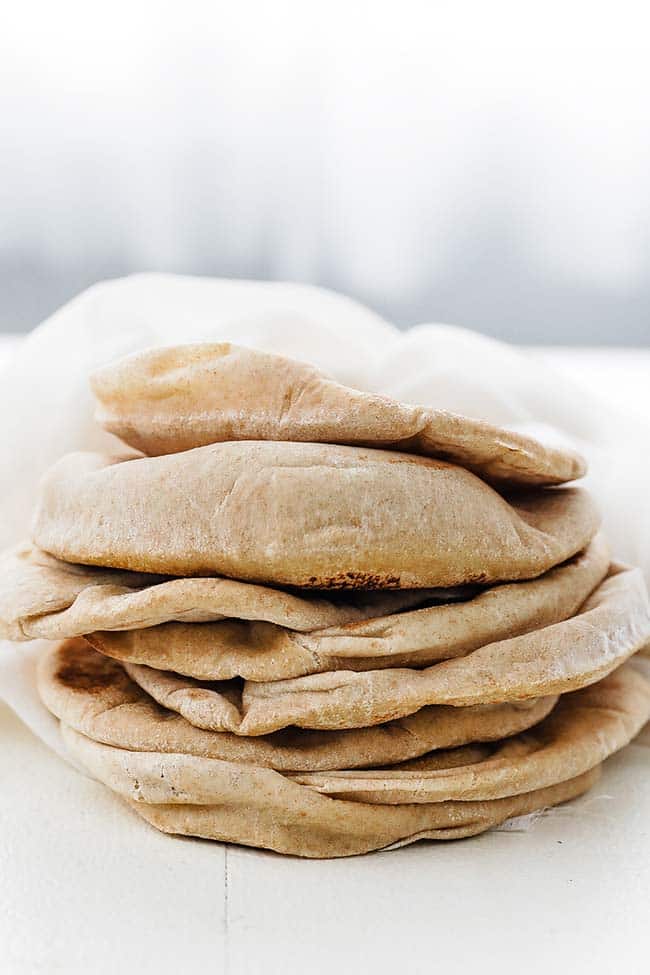
Pita bread is a simple yeast dough that has been part of everyday life in the Mediterranean and Middle Eastern world for centuries. What I love most about it is how it puffs up when it hits high heat, creating that pocket inside. The pocket makes pita unique because a flat round of bread becomes something you can stuff, fold, or tear apart for dipping.
You can bake it in the oven on a hot stone or cook it right in a skillet on the stove, which is my favorite way to make it at home. It is soft, chewy, and once you taste pita fresh, the store-bought kind just does not compare.
And I just want to clarify before we get into the recipe that pita and naan are not the same. Both are considered flatbreads, but they are still quite different. Pita bread is made with a simple lean dough, while naan is enriched with yogurt, milk, and eggs for extra flavor and texture. Since we are talking about breads, I also recommend checking out how to make my easy naan recipe.
Ingredients and Substitutions
Here is what I grab when I make my pita bread recipe at home:
- Active Yeast – I use active yeast to help the dough rise and puff in the oven. If I don’t have it, instant yeast works too and I just skip the proofing step.
- Sugar – A little sugar wakes up the yeast and balances the flavor of the dough.
- Unbleached All-Purpose Flour – This flour gives the pita structure and keeps it soft. Bread flour can be swapped for a chewier texture, and gluten-free blends work as well, though they don’t puff quite the same.
- Whole Wheat Flour – I like adding whole wheat flour for a nutty flavor and hearty texture.
- Salt – Sea salt, table salt, or kosher salt all work, but I adjust the amount depending on the grain size.
- Olive Oil – Olive oil adds tenderness and richness to the dough. Sometimes I swap it for melted butter or avocado oil, each giving its own flavor.
- Warm Water (110° to 115°) – Warm water activates the yeast and helps the dough rise properly.
How to Make Pita Bread
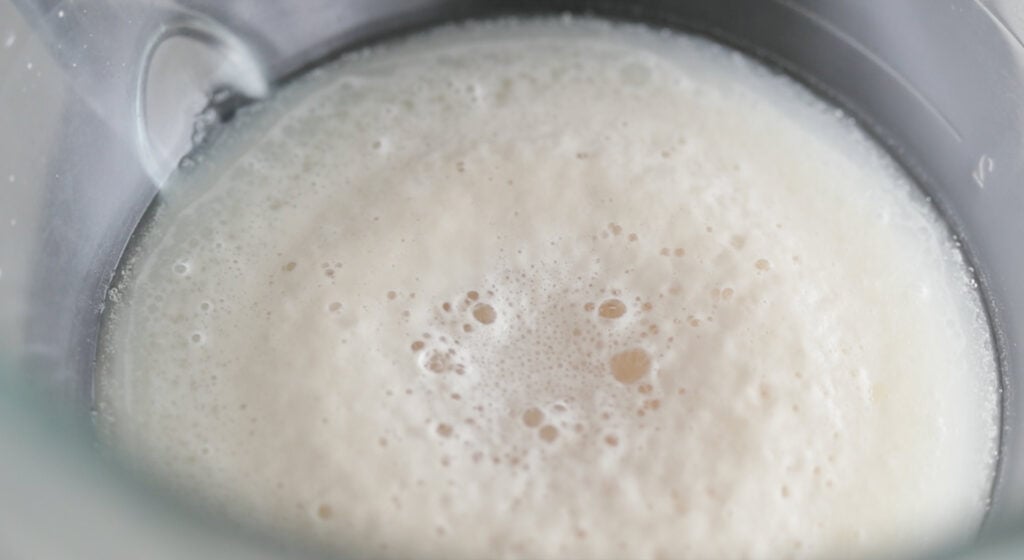
Activate the yeast: I whisk the warm water, yeast, and half of the sugar in the bowl of my stand mixer. Then, I let it sit for about 5 to 7 minutes until a raft forms on top.
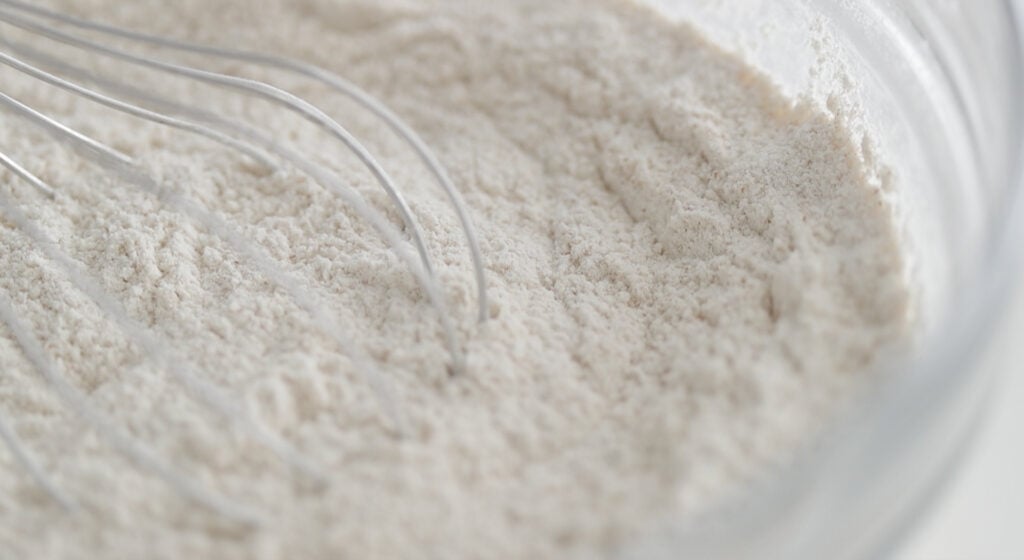
Combine the dry ingredients: In a separate bowl, I mix together the flours, salt, and the rest of the sugar until everything is well combined.
Knead the dough: I add the olive oil and the dry ingredients to the stand mixer fitted with the hook attachment, then let it knead for about 8 to 10 minutes until the dough comes together.
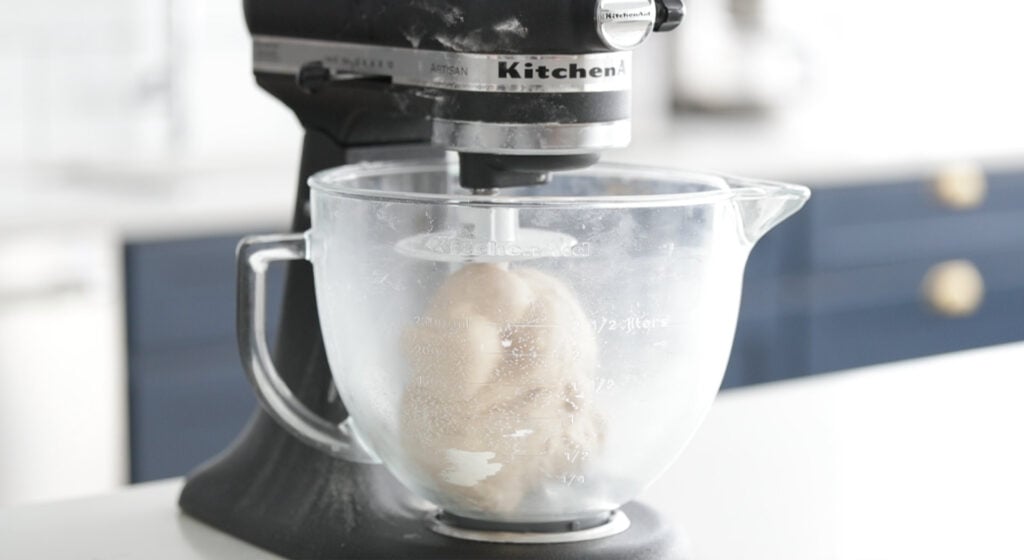
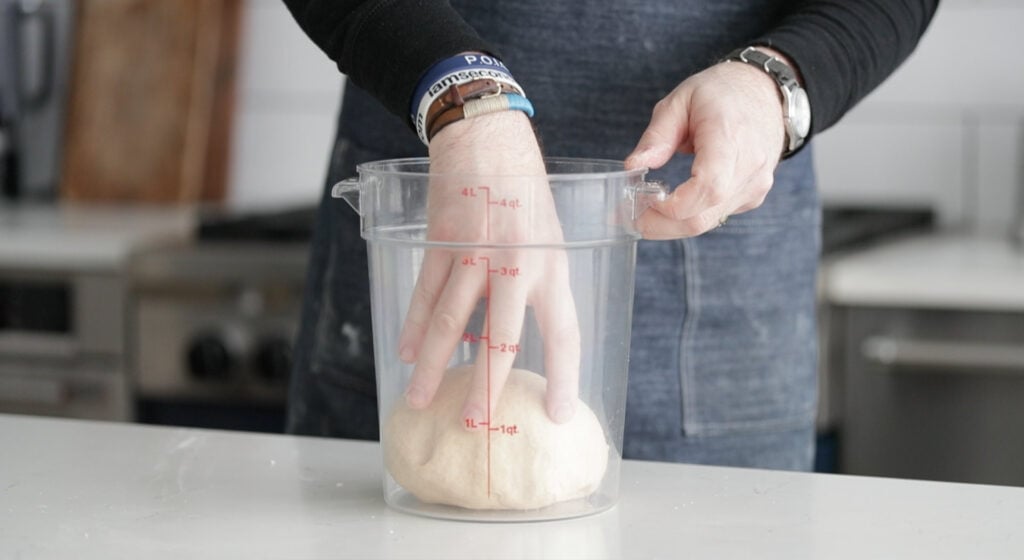
Let the dough rise: I coat the dough with a little olive oil, place it in a container, and cover it with a lid or towel. Then, I let it rest for up to 2 hours or until it has doubled in size.
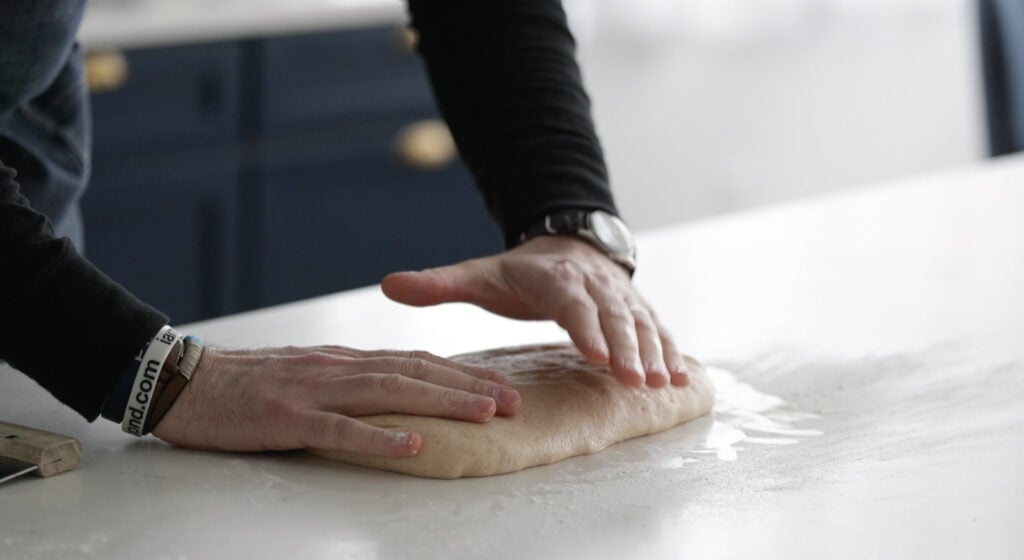
Shape the dough: I place the dough on a clean surface and gently flatten it out into a rough rectangle.
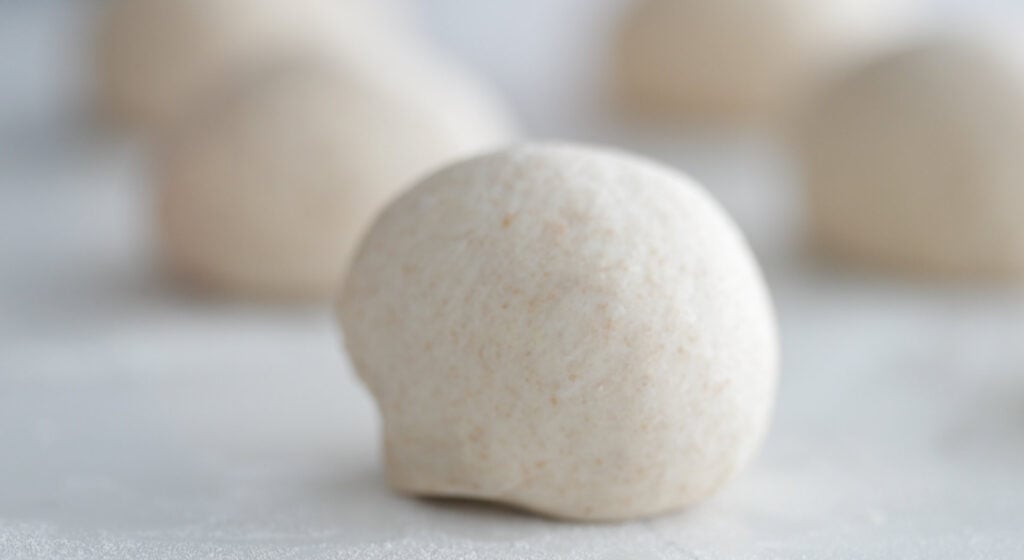
Divide: I cut the dough into 12 even pieces and fold each one under to shape smooth dough balls.
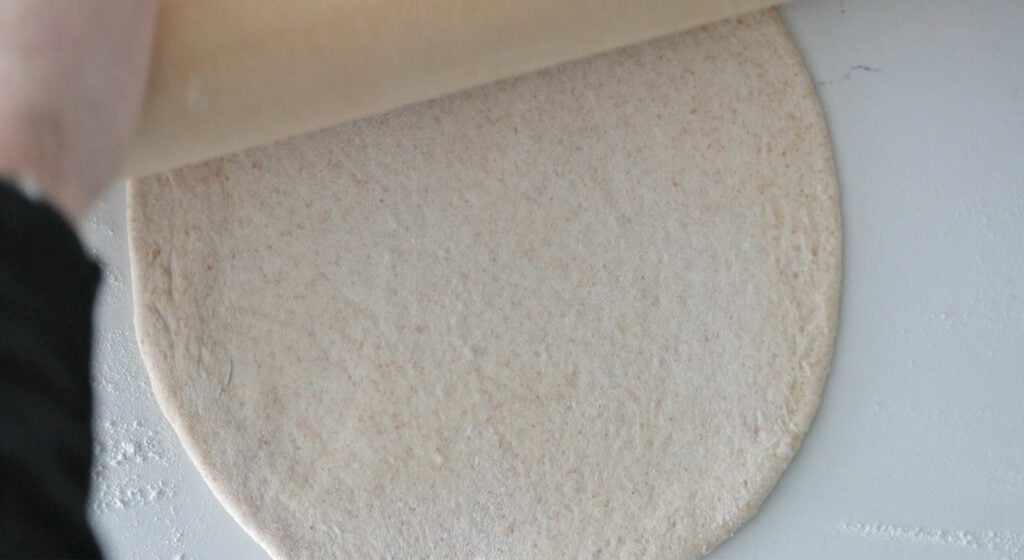
Roll: Then, I roll each dough ball into a circle about 6 to 8 inches in diameter, then cover them with a towel and let them rest for 20 to 30 minutes.
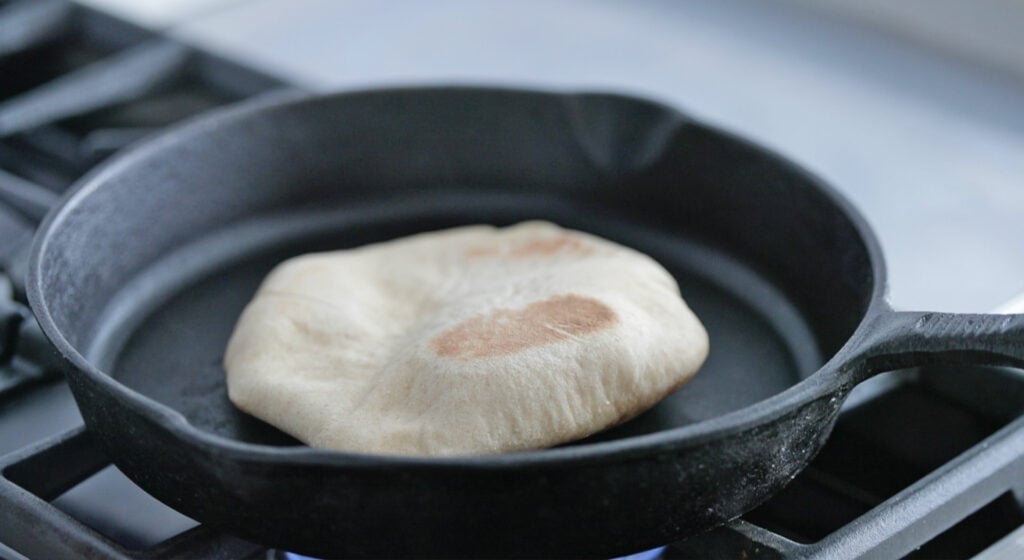
Cook the pita: I place one rolled out dough onto a pizza stone in a 550° preheated oven and cook it for 1 to 1 ½ minutes per side. My favorite way is to use a hot skillet instead, cooking it for 2 to 3 minutes and flipping every 30 seconds until it puffs and browns.

chef tip + notes
I highly recommend for making my homemade pita bread is to place the covered bowl of dough in the oven with just the oven light on. It creates the perfect warm spot for the dough to rise, and I have found this little trick helps me get the best puff every time.
- Check the dough: When the dough is done kneading it should be smooth and spring back when pressing down, and if you pinch it, it should stick a bit to your fingers.
- Check the water: I always make sure my water is warm like a bath. Too hot or too cold and the yeast will not do its job.
- Enjoy every piece: If a pita does not puff, I still enjoy it. Those are the ones I love to use for dipping.
- Roll evenly: I roll each piece of dough to the same thickness. This helps the pita cook evenly and puff nicely.
Serving Suggestions
I love using fresh homemade pita bread for more than just steak sandwiches. One of my favorite things is tearing pita into pieces and scooping up my creamy hummus or my olive oil bread dip. On weekends when I have family over, I like to warm a few up and serve them with my cheesy beer cheese dip.
Another way I highly recommend serving pita, especially on game days, is to set it out with my smoked salmon dip and add a bowl of my BLT dip on the side. The last time I did this my friends crowded around the table grabbing pieces of bread and dipping nonstop.
Make-Ahead and Storage
How to reheat: I like to warm pita by wrapping it in foil or putting it in a pan with a lid. Then I place it in the oven at 350° for 4 to 5 minutes until it is soft and warm.
Make ahead: I often make this bread a day in advance. When I am ready to serve, I just heat it up and it tastes fresh again.
How to store: I keep my pita covered in the refrigerator for up to 5 days. It stays soft and ready to use when I need it.
How to freeze: Pita freezes well for up to 1 month. I thaw it out and warm it before serving, and it still tastes homemade.
More Amazing Bread Recipes
- Homemade Dinner Rolls
- 2 Hour Easy White Bread
- Classic French Boule Recipe
- Kamut Flour with Biga
- Focaccia Bread Recipe

Video
Homemade Pita Bread Recipe
Ingredients
- 1 ½ cups warm water, 110° to 115°
- 1 packet of active yeast
- 2 tablespoons sugar
- 3 cups all-purpose flour
- ¾ cup whole wheat flour
- 2 teaspoons sea salt
- 3 tablespoons olive oil
Instructions
- Add the water, yeast and 1 tablespoons of sugar to a stand mixer and whisk using a hand whisk until it is combined. Let sit for 5 to 7 minutes or until a raft has formed on the top.
- In the meantime, whisk together the remaining 1 tablespoon of sugar, flours, and salt until combined.
- Pour 2 tablespoons of olive oil into the stand mixer along with the dry flour, sugar and salt ingredients.
- Place on the hook attachment and mix on low speed for 8 to 10 minutes to knead.
- The dough should be smooth, and you want the dough to be a little sticky, but you still may need to add in a bit more flour to get it to the right consistency.
- Coat with the remaining 1 tablespoon of olive oil and place it in a container and cover with a lid or towel and let sit for 2 hours or until doubled in size. See note below on a resting trick.
- Remove the dough and place on a lightly flour-dusted surface and press to form a rough rectangle.
- Cut the dough into 12-14 pieces and then taking each piece of dough keep folding it under to form a smooth dough ball.
- Roll each dough ball out on a lightly flour-dusted surface until it’s about 1/8” to 1/4” thick and 6” to 8” in diameter.
- Place on a cookie sheet tray lined with parchment paper or just on parchment paper on your countertop and cover with a towel and allow to rest for 20-25 minutes.
- Cook on a preheated pizza stone or sheet tray in the oven at 550° and cook for 1 to 1 ½ minutes per side until dark brown marks are formed onto the dough and so it puffs up into a hollow ball.
- Repeat the process until all the dough balls have been cooked.
- Another way to cook is on the stove using a hot skillet, cooking it for 2 to 3 minutes and flipping every 30 seconds until it puffs and browns.
Love reading all of your recipes. However, when I try to save the recipe by emailing to myself, the recipe never comes to my email. Any suggestions?
Thanks.
Mary Ann Naylor
I’ll look into it. Sorry about that.