
Classic Cheesecake Recipe

- Published
- 61 comments

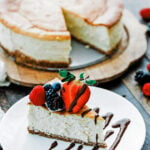
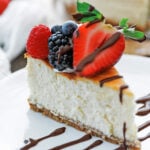
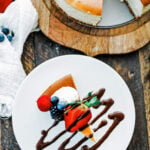
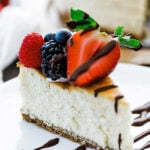
I have been making this classic cheesecake recipe since I was 14, and it’s still the one I make when I want a rich and creamy dessert with a graham cracker crust, whipped cream, and berries. The prep takes only 15 minutes; the oven and fridge do the rest, leaving you with a restaurant-worthy, foolproof dessert to serve your family.
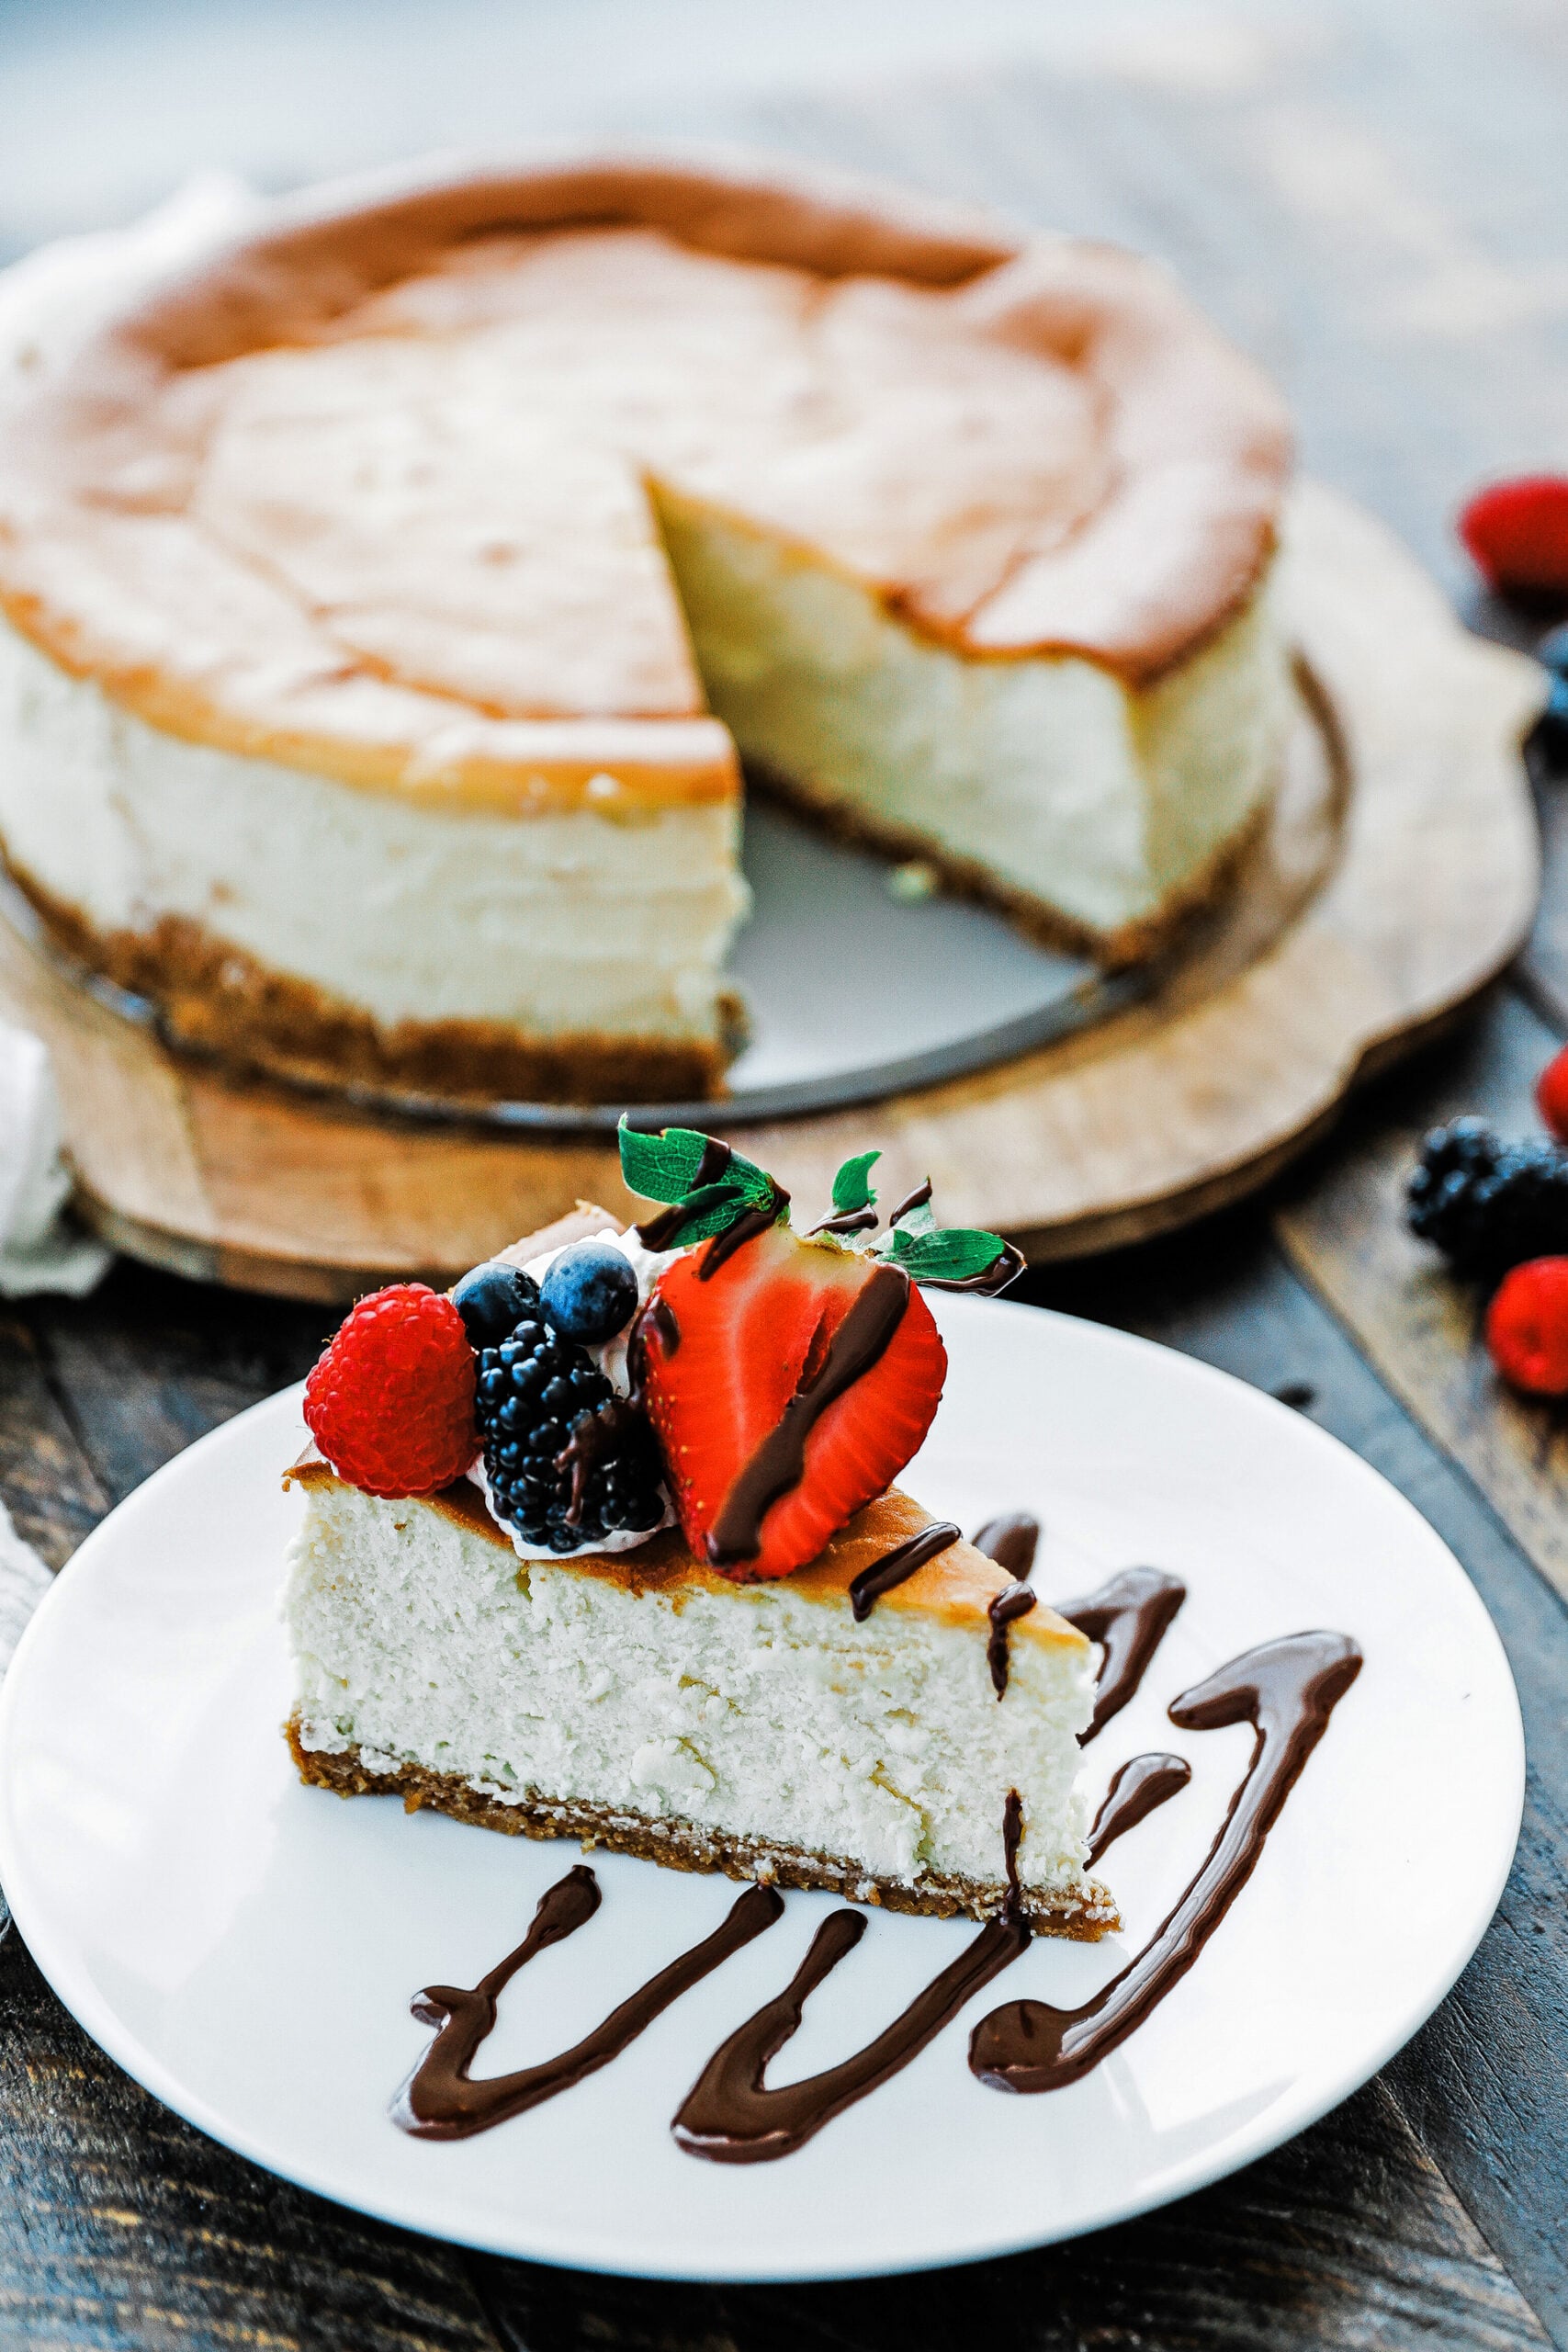
I confess, I used to think cheesecake was a holiday-only dessert, until I got tired of waiting for Christmas to eat it and started baking one on a random Sunday. My no-bake cheesecake recipe is the shortcut version for a hot afternoon, but this one is the classic I have been making the longest and the one I still like the most.
Featured Comment:
My wife and I have made this many times now and it always turns out beautifully. Several of our friends have said it’s the best cheesecake they’ve ever had! Make sure you use Billy Parisi’s recipe for whipped cream to top it off with! It’s so good!
-Trent
Cheesecake
Cheesecake is a baked dessert of whipped cream cheese, eggs, and sugar, set in a springform pan and served cold. It can be a little lighter or fluffier, like this one, or denser, and it can be made with or without a crust. My recipe takes a more classic approach. I use a graham cracker crust, sour cream in the batter, sugar and flour for structure, and a water bath to keep the top from cracking.
I will absolutely stand behind the fact that the keys to success are two fold. First and foremost, make sure you use room-temperature cream cheese. If you don’t, you’ll have lumps throughout, and it won’t cook evenly. There’ll be random globs of cream cheese. Secondly, cook it in a water bath. This helps to create a nice, moist environment in the oven that sort of steam-bakes the cheesecake. Plus you’ll look like a pro when there are zero cracks on top.
My version isn’t strictly New York-style because I use sour cream and a little flour instead of heavy cream. But I promise you the finished cake tastes the same as a New York deli’s. While it takes some time to bake and completely cool, I definitely recommend this tried-and-true recipe.
Ingredients and Substitutions
Here is what I use for the crust and the batter, along with a few notes on where a swap is fine and where it is not:
For the crust:
- Graham Crackers – You can use pre-ground graham crackers or grind them yourself from whole crackers.
- Butter – I always use unsalted butter to control the salt content in my cooking and baking.
- Sugar – Granulated sugar. Just enough to sweeten the crust up a bit more and help it set.
- Salt – This will balance out the sweetness for a perfectly seasoned crust. I almost exclusively use diamond kosher these days, jsut as an FYI.
For the batter:
- Cream Cheese – Full-fat brick cream cheese, softened to room temperature. Whipped or reduced-fat cream cheese will not set the same way.
- Sugar – Granulated sugar in the batter for sweetness. If you like a less sweet cheesecake, substitute with sifted powdered sugar.
- Flour – A few tablespoons of all-purpose flour will help lighten the cheesecake slightly and provide stability. I usually use Bob’s Red Mill.
- Vanilla – I love adding some vanilla extract to this cheesecake. You’ll notice that it really comes to the front flavor-wise. If you want fresh vanilla seeds, 1 fresh pod equals 1 tablespoon of extract.
- Eggs – Large eggs at room temperature are best because they whip into the batter faster. Cold eggs work if you take an extra minute to mix them in.
- Sour cream – Full-fat sour cream adds a slight tang and richness that keeps the cake from tasting boring, in my opinion. Crème fraiche or Full-fat Greek yogurt is the next-closest swap if sour cream is not in the fridge.
How to Make Classic Cheesecake Recipe
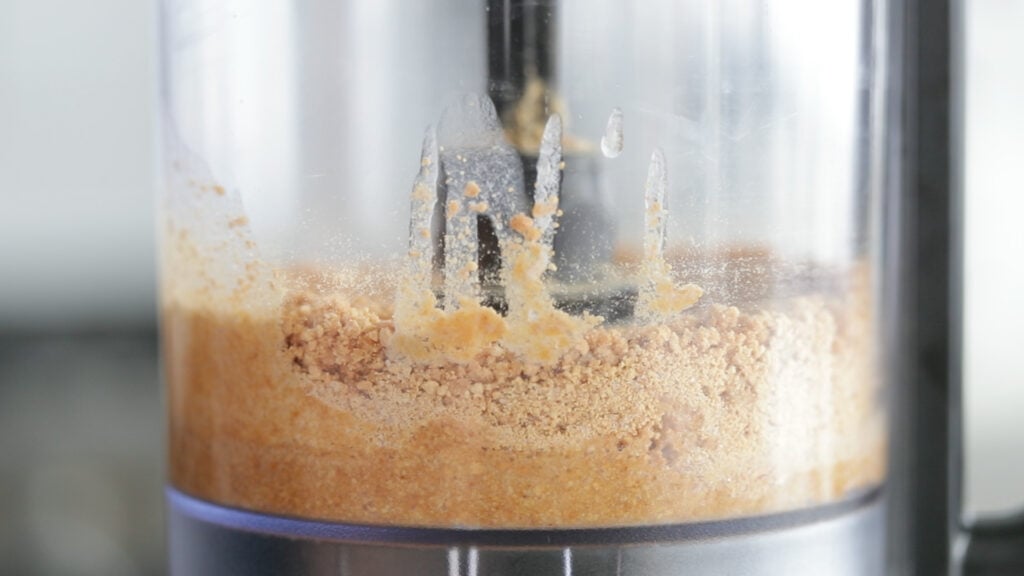
Pulse the crust: Add the graham cracker crumbs, melted butter, sugar, and salt to a food processor. Pulse on high until the mixture looks like wet sand and holds together when pinched.
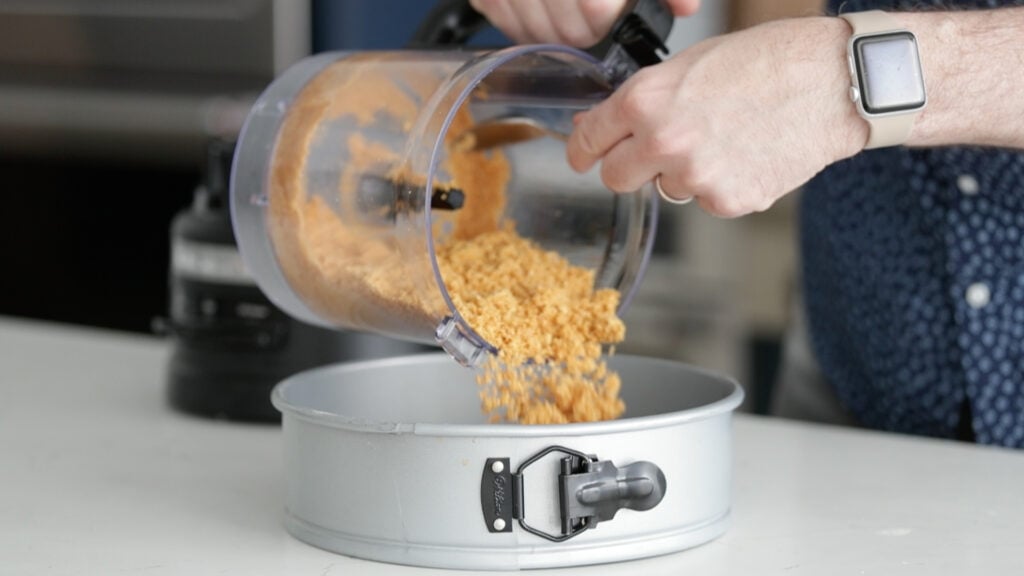
Press: Transfer the graham cracker mixture to a 9” or 10” springform pan and for it to the bottom of the pan to form a crust. Use the flat bottom of a measuring cup to compact it into an even layer.
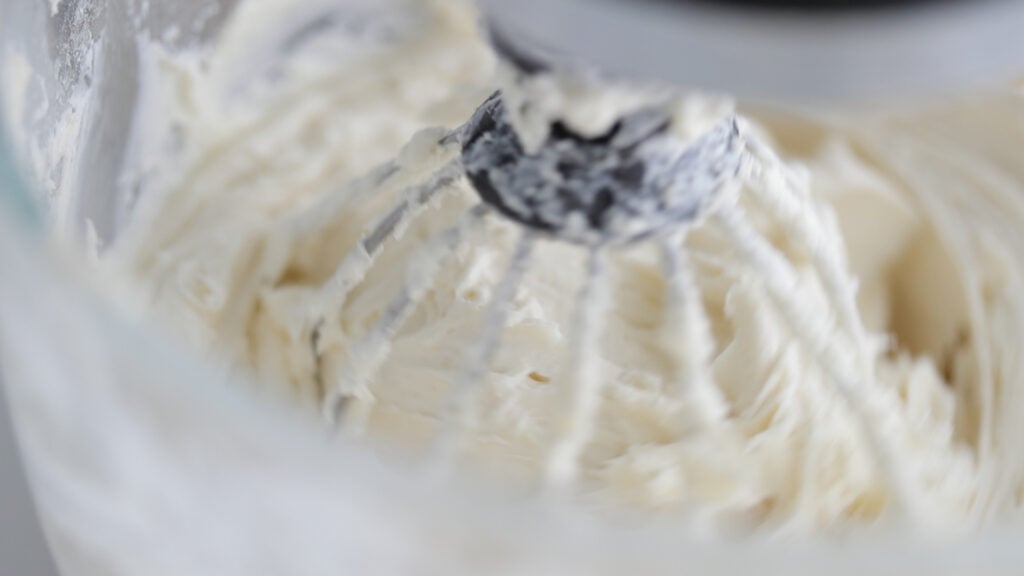
Whip the cream cheese: Add the softened cream cheese, sugar, and flour to a stand mixer with the whisk attachment. Mix on medium for a few seconds to keep the ingredients from flying out. Then take it to high speed and whip for 4 to 5 minutes until smooth and light. Scrape the bowl down at the halfway point.
Add the vanilla and eggs: Mix in the vanilla extract, then add the eggs one at a time, letting each fully incorporate before the next. This is the step I do not rush. Eggs and fat do not mix well. So, adding them one at a time helps keep the batter smooth rather than curdled.
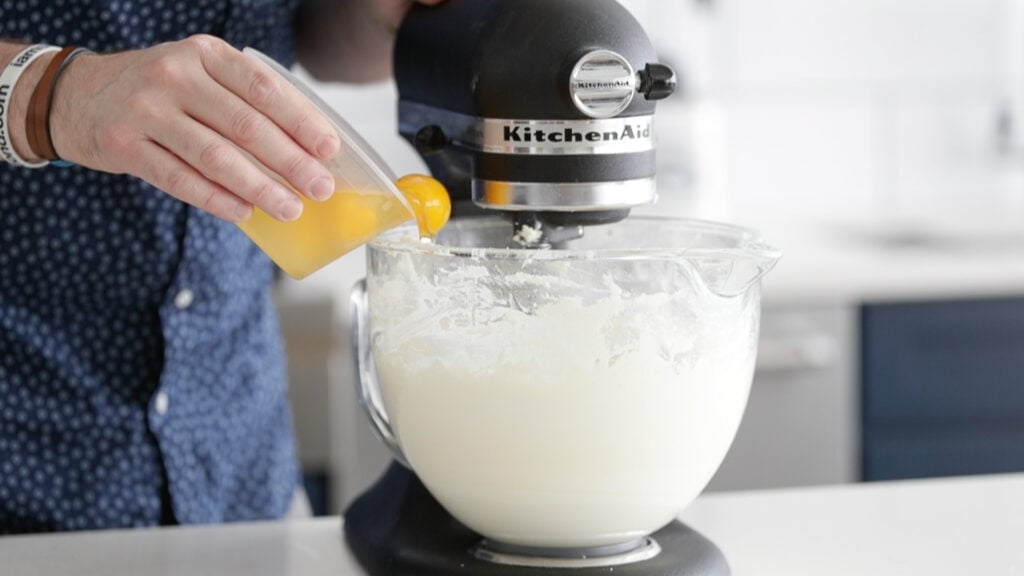
Fold in the sour cream: Drop the mixer speed to medium, add the sour cream, then scrape the bowl one last time and mix for another minute until the batter is uniform.
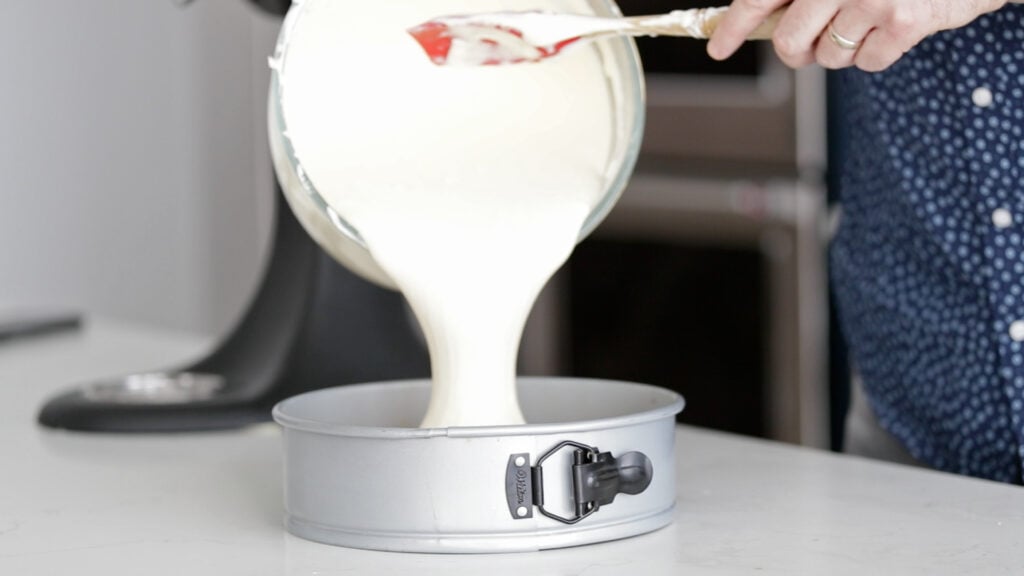
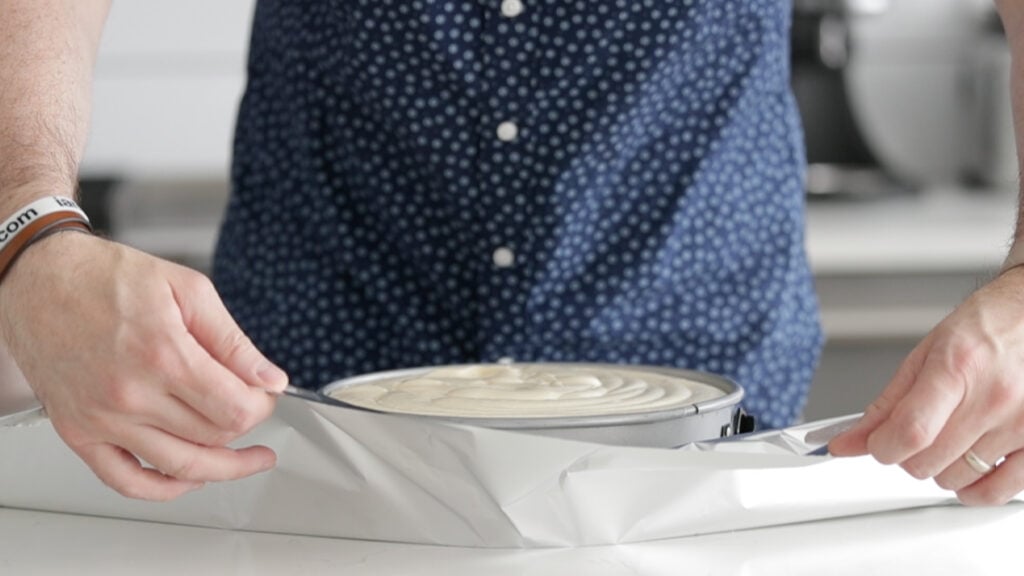
Fill the pan and wrap it: Pour the batter over the crust in the springform pan, leaving about a quarter-inch of space at the top so the cake has room to rise. Wrap the outside of the pan in a large sheet of heavy-duty foil so no water sneaks in during baking.
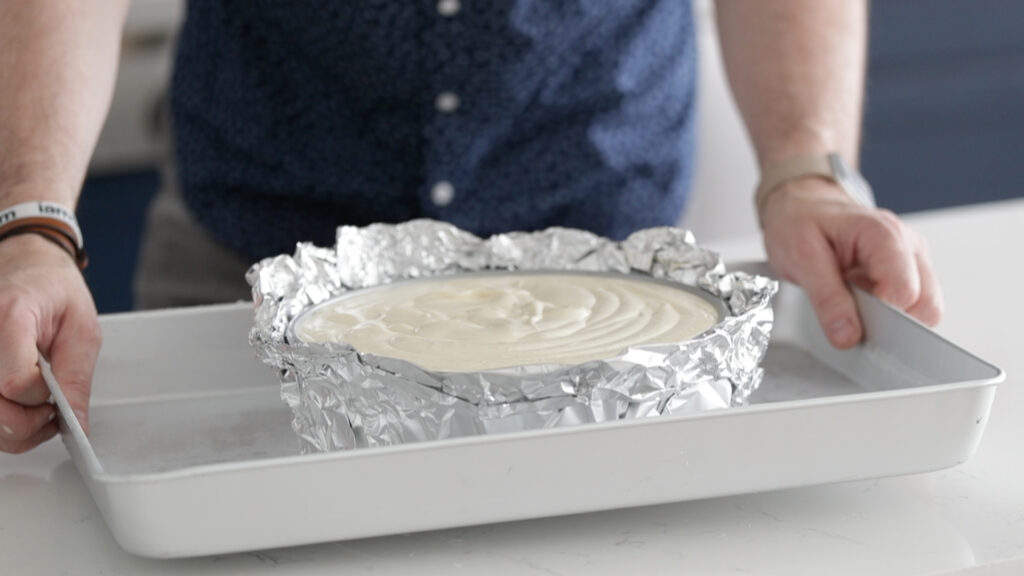
Set up the water bath: Place the wrapped springform pan inside a large rectangular baking pan and set it on the bottom rack of a 325°F oven. Pour warm water into the outer pan until it reaches halfway up the side of the springform.
Bake: Bake at 325°F for 90 to 105 minutes. The top should be lightly golden and raised, and the center should still have a slight jiggle when the pan is tapped.
Rest, then chill: Shut the oven off and let the cheesecake sit in the water bath for 45 minutes at room temperature. Remove the foil and the water bath, then transfer the pan to the refrigerator and chill for at least 2 hours, ideally overnight.
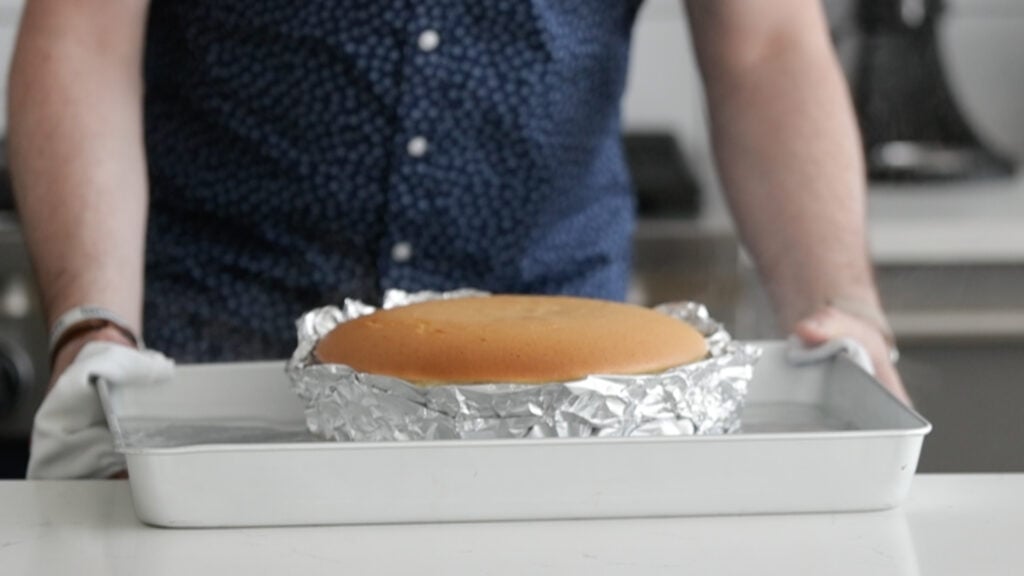
Release and slice: Slide a hot butter knife around the inside of the springform pan, then release the buckle and lift the outer ring off. Slice with a knife dipped in hot water and wiped between cuts.
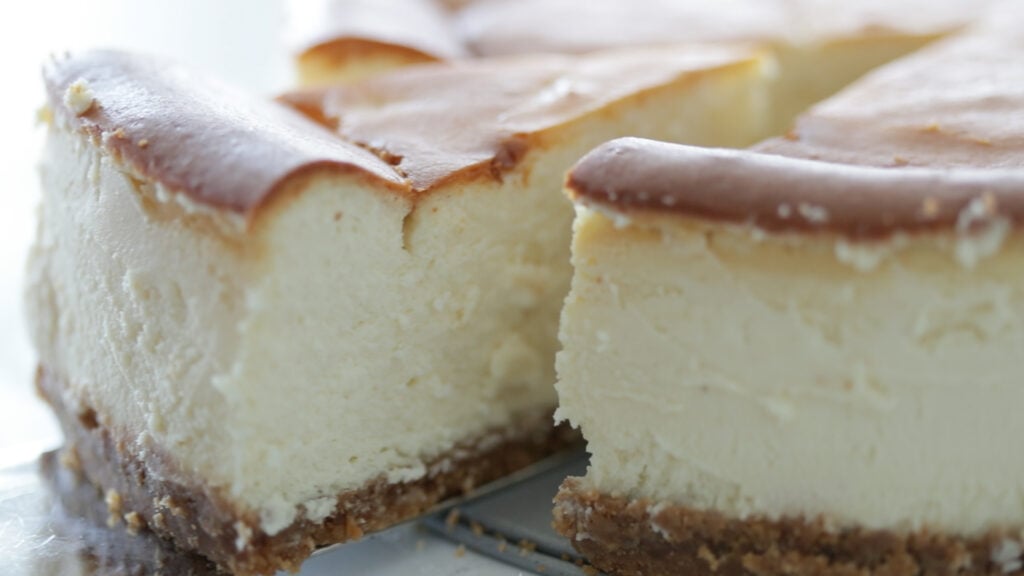
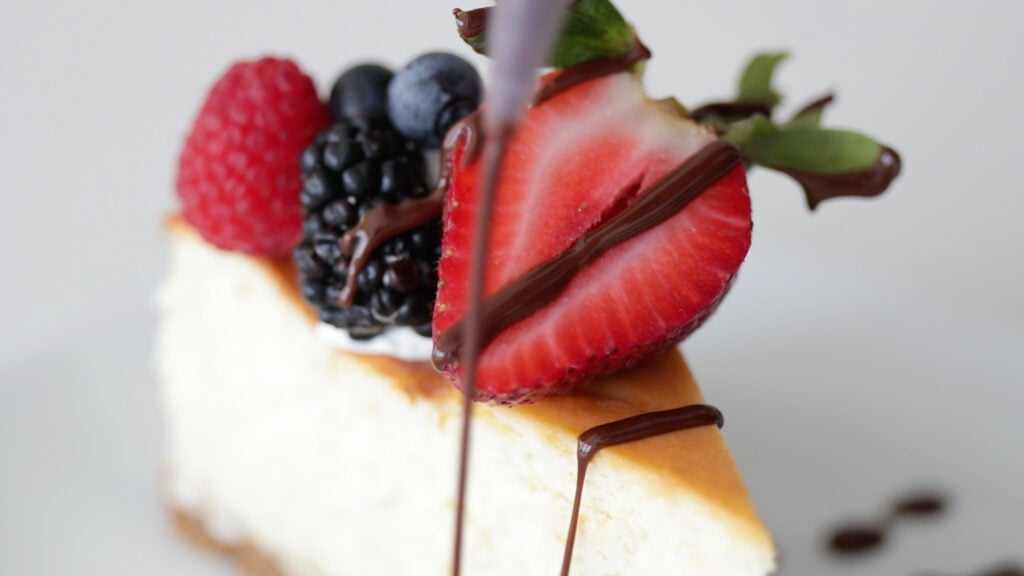
Serve: Top with whipped cream, fresh berries, and a drizzle of your favorite sauce.

Chef Tip + Notes
If you only take one piece of advice from me, let it be this: never skip the water bath. I never skip it when I bake cheesecake because ovens are naturally dry, and that dry heat can cause the top to crack or split before the center is fully set. The water bath creates a steamy environment that helps the cheesecake bake evenly and gives me the smooth, creamy texture I’m after every single time.
- Stop mixing right after the sour cream: Extra air whipped into the batter after the sour cream is added is what causes the top to puff, then sink and split.
- Bring the cream cheese to room temperature: Cold cream cheese leaves chunks in the batter no amount of whisking will fix. Pull it out an hour before the mixer starts.
- Eggs and fat don’t mix naturally, so when you add 1 egg at a time and mix until it is thoroughly incorporated, it ensures that all your ingredients will combine. Take your time with this process.
- Do not open the oven: Use the oven light. Every time the door opens, the oven loses moisture and drops in temperature, both of which can crack a cheesecake.
- Don’t stress if your cheesecake cracks. It’s purely cosmetic, and in my kitchen, that doesn’t really matter. It tastes exactly the same, and once I add whipped cream and fresh berries, no one can even tell.
- Slice with a hot knife: Dip the blade in hot water, wipe it dry, then cut. Wipe again between every slice. This is how the restaurant plates it, and it is the difference between a smooth cross-section and a smeared one.
- Just like in my crème brulee recipe, you can add ingredients to make it unique, such as Oreos, cherries, blueberries, chocolate cheesecake, and so on. However, the base starts with this classic recipe.
Serving Suggestions
I plate this Cheesecake the classic way most of the time: a slice on a chilled plate, a spoonful of homemade whipped cream on top, a scatter of fresh berries, and a drizzle of my easy chocolate sauce over the top. The other day I swapped the fresh berries for my strawberry sauce and wow… That’s all I’m saying!
When I host dinner parties or I am in charge of dessert on a holiday table, I will plate the cheesecake first. Then I chill the slices on a sheet tray in the fridge. Then, pull them out right before dessert so the tops are cold and the whipped cream holds. If I want a second dessert on the table, I will serve a warm homemade berry crisp next to the cheesecake so guests can pick between the cold slice and the warm bowl. Any leftover slices go into single containers and hold in the fridge for the rest of the week, which is how the key lime pie at the restaurant used to work: bake once, plate all week.
Make-Ahead and Storage
Make-Ahead: For freshness, I make this cake up to 1 day in advance.
How to Store: Store this covered in the refrigerator for up to 5 days. I usually leave it in the springform pan when storing it. This will freeze well and be covered for up to 3 months. You should thaw the cake in the refrigerator for 1 day before serving.
More Dessert Recipes

Video
Classic Cheesecake Recipe
Equipment
- Stand Mixer or Hand Mixer
- Spring Form Pan
Ingredients
For the Crust:
- 1 ½ cups graham cracker crumbs
- 5 tablespoons melted unsalted butter
- 1 tablespoon sugar
- pinch of sea salt
For the Batter:
- 2 ½ pounds softened cream cheese
- 1 ½ cups sugar
- ¼ cup Bob’s Red Mill All-Purpose Flour
- 1 tablespoon vanilla extract
- 5 eggs
- ½ cup sour cream
Instructions
- Preheat the oven to 325°.
- Add all the crust ingredients to a food processor and pulse on high speed until a meal is formed.
- Transfer to a 9” or 10” springform pan and form it to the bottom of the pan to form the crust. Set aside.
- Next, add the cream cheese, sugar, and flour to a stand mixer with the whisk attachment and mix on high speed for 4 to 5 minutes or until soft and smooth. Scrape at least once.
- Mix in the vanilla followed up by adding in 1 egg at a time until completely mixed in.
- Turn the speed down to medium and mix in the sour cream. Stop and scrape and mix for an additional minute.
- Pour the batter over the top of the crust in the springform pan and then wrap the outside of the pan in foil.
- Place the pan in a rectangular cake pan and place it on the bottom rack of the oven.
- Pour in enough warm water to fill the pan up to the ½ way mark.
- Bake at 325° for in between 90 and 105 minutes or until the tops are browned, and the center is barely jiggly.
- Remove from the oven and let cool in the water bath for 45 minutes. Remove from the foil and water bath and cool completely in the refrigerator for about 2 hours.
- Use a knife to remove the outside of the cake from the springform pan, then remove the outer part of the pan, slice and serve with optional garnishes of whipped cream, fresh berries, and chocolate sauce.
Thank you, Chef Billy! This Cheesecake is AMAZING! I give it 10 stars.
Many thanks!
My daughter has despised cream cheese since she was little, so much so that I haven’t even been able to sneak it into any sweet or savory recipe because she can always taste it. When she informed me she’d had cheesecake at a friend’s house while on break from school (and loved it), I jumped at the opportunity to indulge in one of my favorite things- cheesecake! This recipe is foolproof, delicious and also the first time I’ve not had cracks on top. I may now need to buy stock in cream cheese because it’s game on!!! Thanks, as always, Chef Billy!
That’s awesome! I’m so glad she finally gave cheesecake a chance!
Chef, thank you for this and all your recipes! In a club restaurant recently I had a crème brûlée cheesecake and it was delicious. Do you know how I can flavor your recipe into a crème brûlée flavored cheesecake?
Vanilla beans
The best cheesecake that I ever made. I got many compliments. Thank you!
Thanks for giving it a shot!!
I’d like to make this a key lime cheesecake. Should I just add lime zest and key lime juice? If so, how much would you suggest?
Without testing it, I’m not 100% sure.
This is my go to cheesecake recipe! I always get compliments on it and it’s rich and delicious!
Fantastic!