French Bread Recipe

- Published
- 94 comments
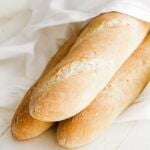
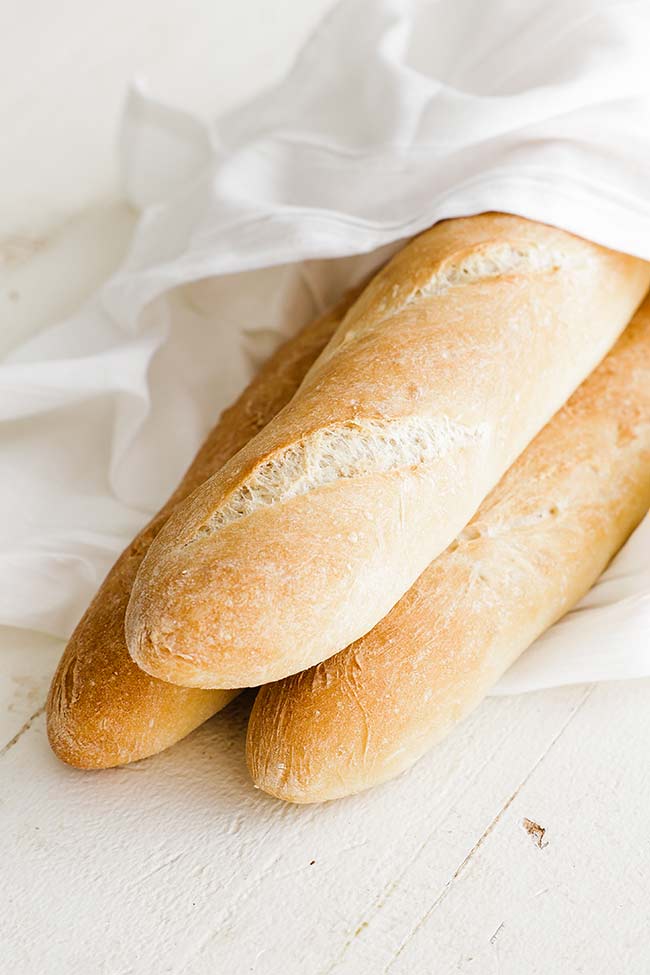
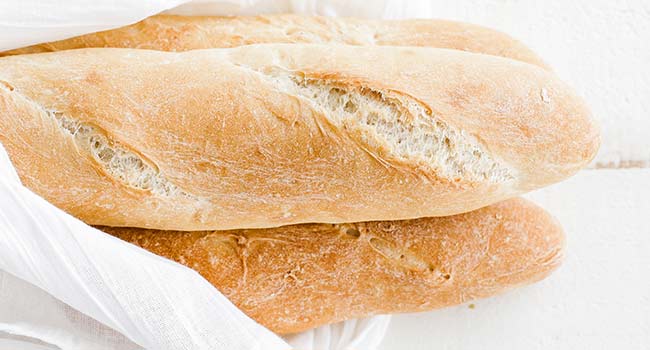
This French bread recipe is simple to make and always gives me a light and fluffy inside with a beautiful golden crust. With just bread flour, yeast, sugar, salt, butter and water, it bakes into a loaf that’s perfect every time. It’s my favorite way to bring fresh bread to the family table.
Baking bread is one of the most fulfilling things you can do, especially if you’re just starting out in the world of baking. This French bread recipe is one of my personal favorites because it’s foolproof and always gives me a perfect loaf. If you love the process of making bread at home, I also recommend trying my French boule or my homemade artisan bread. Both are easy to make, and you’ll always have fresh bread ready to serve your family.
French Bread: A Classic Anyone Can Make
French bread is a light, crusty, yeast-raised bread made with water, flour, and yeast. It comes in many shapes and sizes, including the classic baguette, rounds, and ovals. What I love most about this style of bread is that even with quicker proof times and commercial yeast, you can still achieve that classic flavor and texture at home.
I’ve made this recipe many times, and it’s seriously a foolproof bread that’s perfect for beginners. The crust crackles as it cools, and the inside stays soft and fluffy. You can slice it longways, on a bias, or into thin rounds. Once you make and taste this easy French bread, there’s really no reason to buy it premade again.
To make my French bread recipe, I use pantry staples like flour, salt, sugar to feed the yeast, and unsalted butter, which I consider a must for baking. All of these come together to create a beautiful bakery-style loaf. It’s simply a matter of kneading, rolling, and letting the dough rise properly.
Ingredients and Substitutions
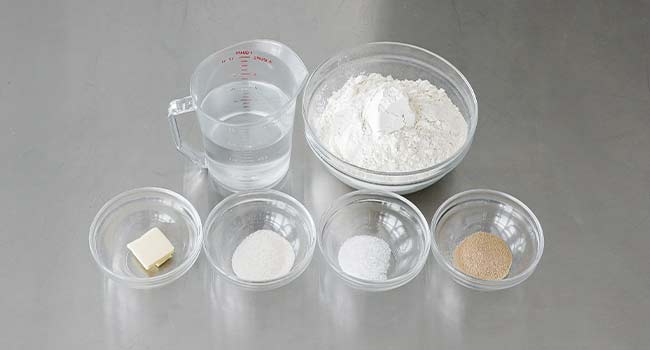
- Flour – You will need to use bread flour for this recipe. It has a higher protein and will make better bread.
- Water – Regular old tap water heated to 112° to 115°.
- Yeast – You can use active or instant yeast in this recipe.
- Butter – Unsalted butter is what I recommend for cooking and baking.
- Salt and Sugar – I always use sea salt, and a little granulated sugar to help feed the yeast and get it started.
How to Make Homemade French Bread
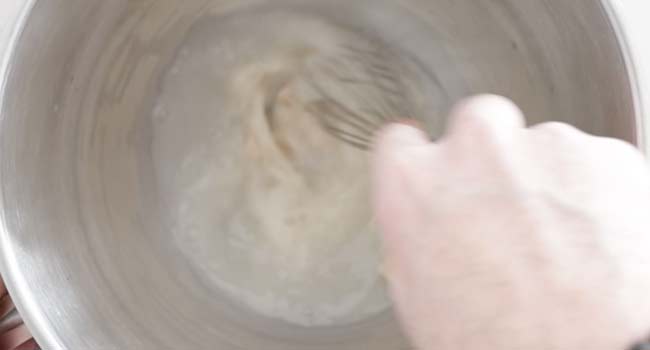
Start the dough: First thing I do is add half of the warm water to the bowl of my stand mixer along with the sugar and yeast.
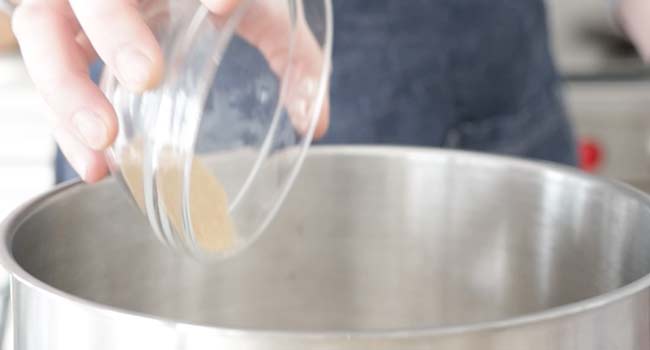
Activate the yeast: I whisk everything together until it’s combined, then let it sit for about 5 to 7 minutes so the yeast has time to activate.
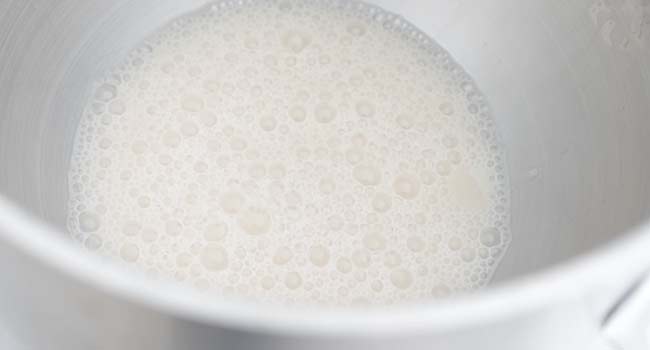
Check the yeast: If I’m using active yeast, I wait until a raft forms on top, which tells me it’s ready. If I’m using instant yeast, I skip this step since it doesn’t need that waiting time.
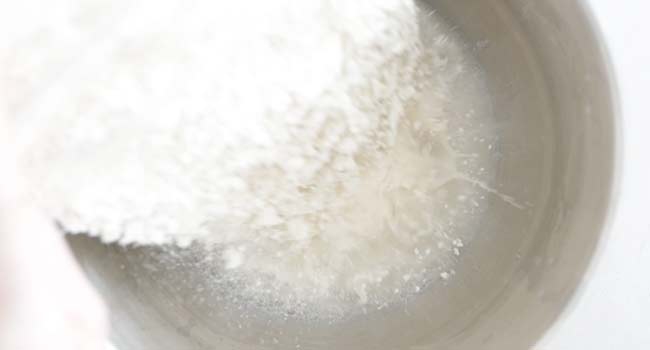
Add remaining ingredients: Once the yeast is ready, I add in the rest of the warm water, the salt, and the flour to the bowl.
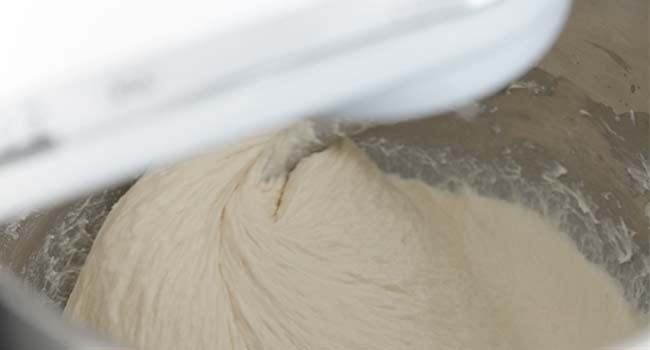
Knead the dough: I let the stand mixer do the work using the dough hook and knead the dough for about 8 to 10 minutes. It’s perfectly fine if the dough seems a little sticky at this stage.
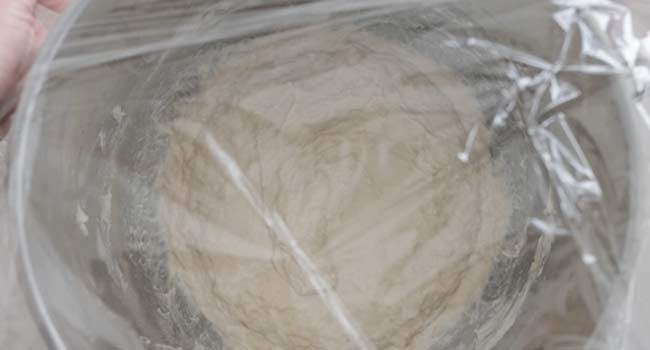
Let it rise: I remove the bowl from the mixer, cover it with plastic wrap, and set it in a warm spot. I leave it there for about 90 minutes, or until the dough has doubled in size.
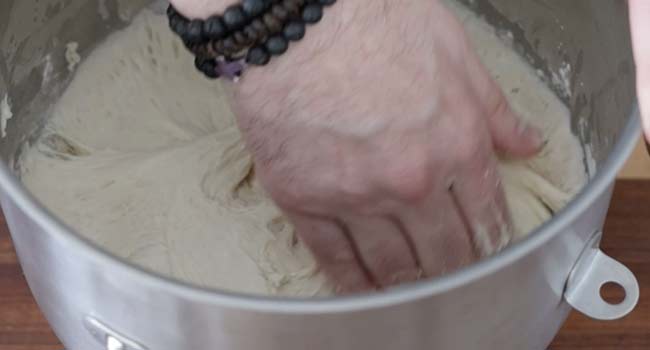
Punch down the dough: I take off the plastic wrap and gently punch down the dough to bring it back to its original size. If it’s sticking to the bowl, I dust it with a little flour to make it easier to handle.
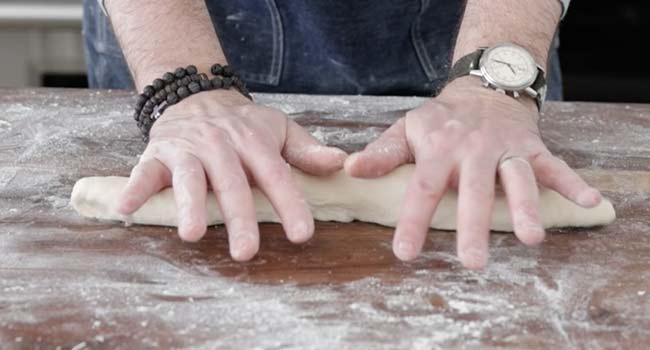
Knead by hand: I turn the dough out onto a clean, floured surface and knead it by hand for 1 to 2 minutes to smooth it out.
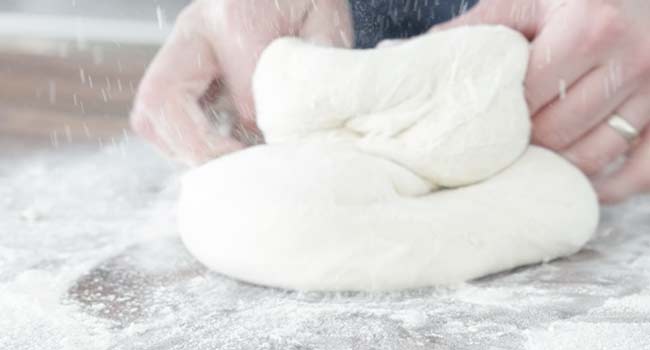
Shape the dough: I form the dough into a large ball by gently cupping my hands around it and tucking the edges underneath.

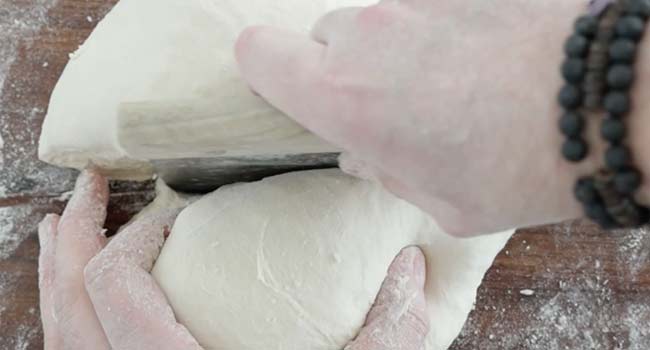
Divide the dough: I cut the dough into 4 equal pieces, but if I want larger, thicker loaves, I go with 3 equal parts instead.
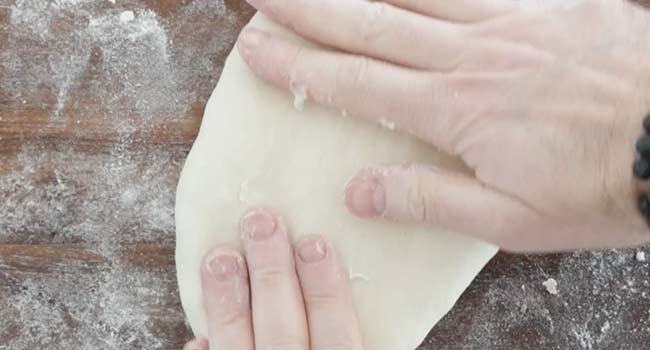
Shape the pieces: I take one piece of dough and press it down gently until it forms an oval shape.
Start folding: I fold the bottom third of the dough up toward the center.
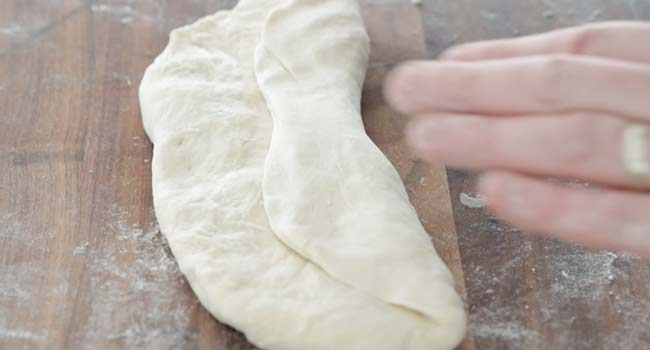
Finish folding: I fold the top third down to meet the seam, lining it up with the first fold.
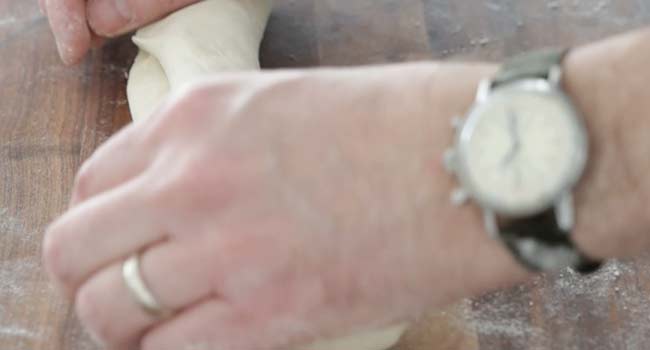
Seal the dough: I use my fingertips to pinch the seams together until they’re completely closed.
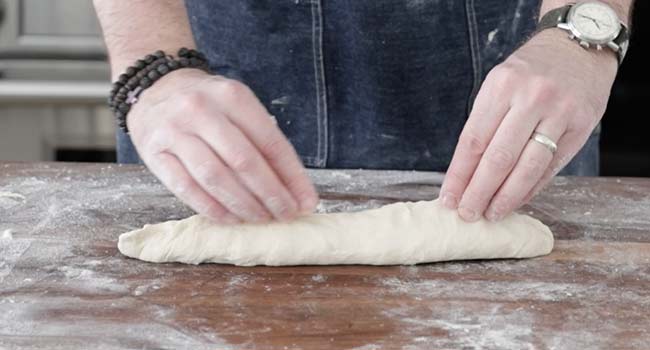
Roll the loaf: I gently roll the dough back and forth until it’s about 12 to 16 inches long, tapering the ends slightly as I go.
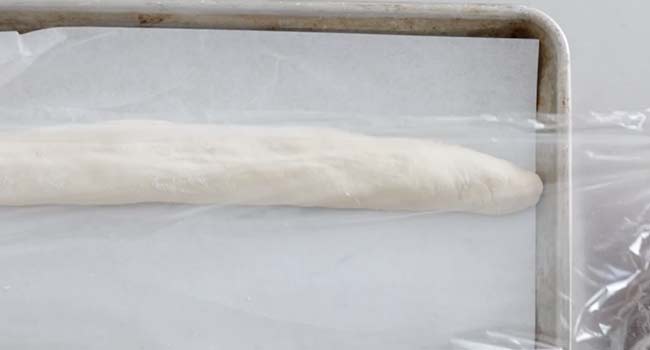
Proof the loaves: I place the shaped dough on a parchment-lined sheet tray, cover it with plastic wrap, and let it proof in a warm spot for about 60 minutes.
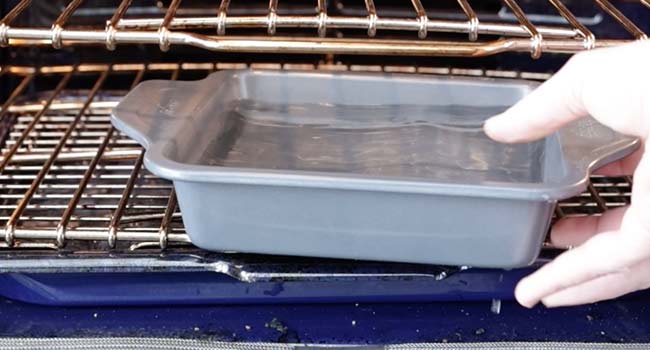
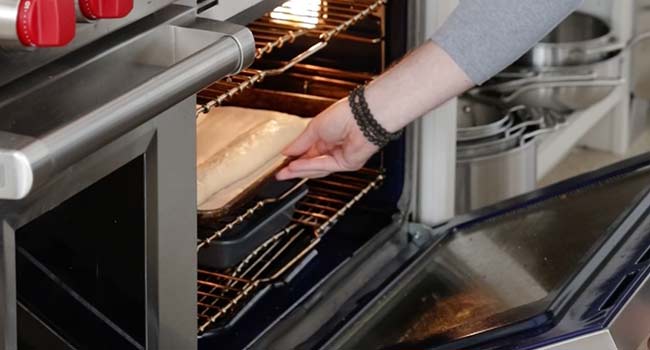
Preheat the oven: I set the oven to 425° and place a pan filled with water on the bottom rack. This will help create moisture in the oven and provide a nice golden brown crust on your bread.
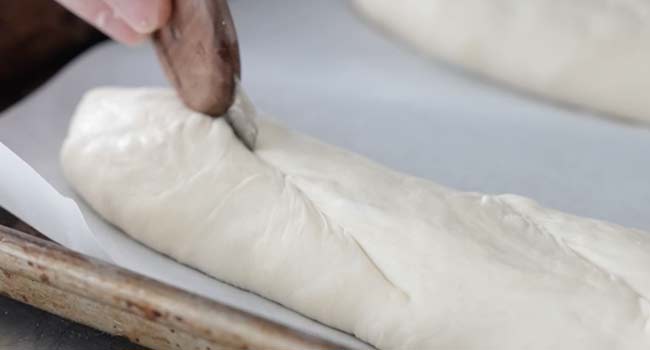
Score the loaves: I remove the plastic wrap and use a sharp knife or razor to make three diagonal cuts across the top of each loaf. Sometimes I spray or brush the tops with water to help the crust turn extra crisp.
Bake the bread: I place the tray on the middle rack and bake at 425 degrees for 22 to 25 minutes, until the loaves are golden brown on top and fully cooked through.
Cool and serve: I let the bread cool to room temperature before slicing. Then it’s ready to serve and enjoy.

Chef Tip + Notes
I’ve tried this many times, and I highly recommend, when making this French bread recipe, placing the bowl in the oven with the door slightly cracked and just the light on. That little trick has helped me proof dough perfectly, especially on cooler days. The warmth and gentle humidity create the ideal environment for the dough to rise well.
- Add moisture: I like to place a pan of water in the oven while baking. It creates steam and helps the crust turn a beautiful golden brown.
- Skip the rolling pin: There’s no need for a rolling pin in this recipe. I shape everything easily by hand.
- Prevent sticking: I spray one side of the plastic wrap with non-stick spray before covering the dough. That way, it doesn’t stick when I go to remove it after proofing.
- Use a sharp blade: When scoring the loaves, I always use a very sharp knife or razor. Clean cuts help the bread expand properly in the oven.
Serving Suggestions
I love pulling this French bread from the oven and slicing it while it’s still warm. I typically serve it with a bowl of broccoli cheddar soup or a pot of lamb stew on the stove. It also goes so well with pasta, especially something rich and saucy like my pasta puttanesca.
I also use it to make sandwiches for lunch the next day, like my chicken cutlet sandwich, which happens to be my daughter’s favorite. Want to take it to another level? I recommend toasting a slice with a little butter and sea salt, then turning it into a delicious steak sandwich or dipping into my olive oil bread dip. It’s always a favorite in our house.
Make-Ahead and Storage
Make-Ahead: You can make this French bread up to 1 day ahead of time.
How to Store: Cover and keep at room temperature for three days or in the refrigerator for up to 5 days. You can freeze this loaf of bread for up to 6 months. Thaw it at room temperature until thawed before slicing and serving.
More Bread Recipes

Video
French Bread Recipe
Ingredients
- 2 ¼ cup warm water, 112° to 115°
- 2 teaspoons sugar
- 1 packet active yeast
- 2 teaspoons sea salt
- 2 teaspoons softened unsalted butter
- 5 cups bread flour
Instructions
- Add ½ of the water to the bowl of a stand mixer along with the sugar and yeast.
- Whisk until combined, and then let it stand for 5 to 7 minutes.
- If you are using active yeast, a raft should form on the top. If you are using instant yeast, then there is no need to wait for the raft.
- Add in the rest of the water, salt, butter, and flour.
- Knead with a stand mixer using the dough hook for 8 to 10 minutes. It’s ok if the dough seems a little sticky.
- Remove the bowl, cover it with plastic wrap, and place it in a warm place for 90 minutes or until it’s doubled in size.
- Take off the plastic, and punch down the dough to its original size. If it’s stuck, dust it with some flour.
- Knead the dough on a clean, floured surface for 1 to 2 minutes.
- Form the dough into a large ball by cupping around the dough into the bottom.
- Cut the dough into 4 equal parts. If you want larger thicker French bread, cut it into 3 equal parts.
- Press down 1 of the doughs until it forms the shape of an oval.
- Fold the dough up by 1/3.
- Fold it up again by 1/3 meeting at the seam.
- Pinch the seams with your fingertips until they are shut.
- Roll the dough out until it is roughly 12 to 16 inches long and tapered at the ends.
- Place it on a sheet tray lined with parchment paper and cover it with plastic wrap.
- Proof for 60 minutes in a warm place.
- Preheat the oven to 425° and place a pan filled with water on the bottom rack
- Remove the plastic and cut 3 long slices on a bias using a sharp knife or razor. For an extra crisp crust, you can spray or brush the tops with water.
- Bake in the oven on the middle rack at 425° for 22 to 25 minutes or until browned on top and cooked through.
- Cool to room temperature. Slice and serve.
I made it and it turned out to the best easiest read ever
Thanks for a great recipe
Made this today. Love the bread! So easy and came out great. Nice crumb. Wonderful texture. Highly recommend!
Perfect!
Love this recipe! It is better than bakery at the store! My neighbors ask me for it all of the time.
Awesomeness!
Forgot to rate it last time – made it 3 times – very good and easy!
Thank you!
Easy to make and tastes great!
Yes!
Made this bread the other day and it was sooooo dang good! Love all you videos and have printed a lot of them for my own use. This is by far my favorite recipe for bread so far.
Love making bread and this is definitely a keeper. Although I use a bread machine to mix and knead the dough, I finish by hand to ensure that rustic homemade look. This is a beautifully textured basic recipe that works for breadsticks and French bread pizza rolls. And it’s easy to make.
Excellent bread! Easy to make.
Maybe spray the plastic wrap on the second rise. Mine stuck to the loaves and it deflated them.
I believe I mention that in the last note.
This recipe appears to make 4 loaves of bread. If I only want 1 loaf at a time can I store the unbaked bread in the freezer? Or do I need to make all four loaves and store the remaining three in the freezer?
Thanks
P.S. I love your recipes and your videos.
Better to scale down and make. I can’t guarantee the yeast will still work after freezing.
I’ve made it twice – excellent!!
Going for no 3 today with sesame seed
awesome