My No-Till Garden

- Updated
- 13 comments
It’s my second year of planting a garden, and I decided to take the advice of my many followers and opted for the famous no-till garden. This concept seems to be foolproof, and everything I read tells me I will render excellent results without a lot of hassle.
If you’re a big gardening fan, then you must check out my first-ever garden, where my parents come to town from Detroit to show me the ropes.
Garden Video
No-Till Garden
A no-till garden, also commonly called a no-dig garden, is a concept where you suppress the weeds by covering them and not agitating them like you would if you tilled them. You can then cover the garden with wood chips and decomposed leaves to help shield it from any unwanted weeds. A similar process is also called back to Eden gardening, which was created and named by Paul Gautschi, a Christian gardener.
The number one recommendation to me was to watch a man named Charles Dowding. In his videos, he goes into detail on how to do this and why it works. He claims the ground is full of nutrients and carbon that help plants flourish. When we till the ground, this releases all those nutrients and gives new life to weeds, which I can tell you firsthand after last year’s garden is a pain in the neck.
This process has been proven over and over again. However, I want to put it to the test to see if it actually works. Only time will tell. In addition, you’ll notice that I did away with all the grass in the backyard and replaced it with all mulch. I did this so I don’t have to worry about mowing back here. I also planted a pear, apple, cherry, and peach tree back there.
How to Make a No-Till Garden
Start by completely covering the area with flattened cardboard boxes, newspaper, or butcher paper, that you would like to start gardening.
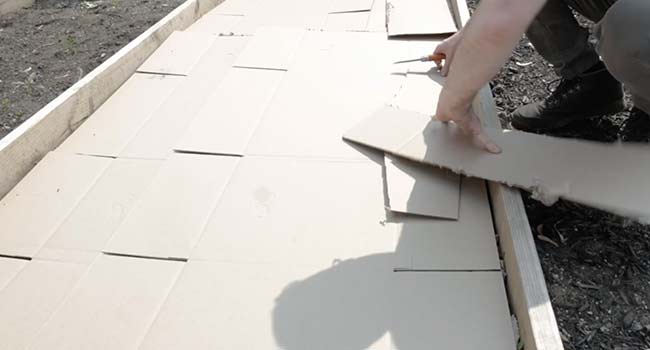
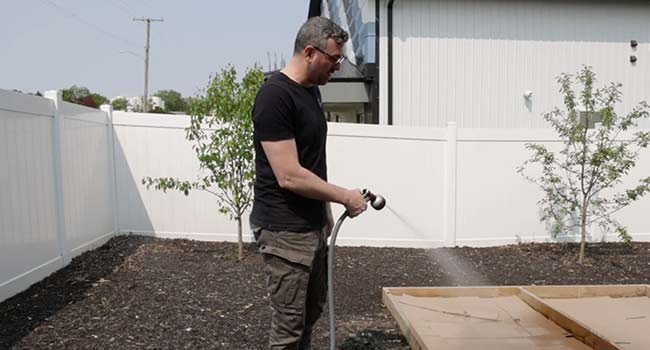
Next, spray down the boxes briefly with water to start the saturation process so that it breaks down.
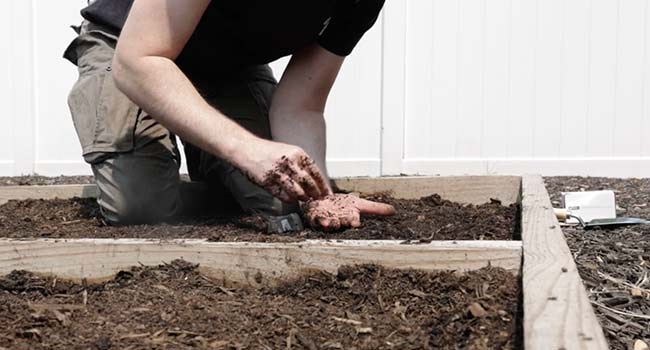
Now completely cover the cardboard with compost. I used a cow manure compost.
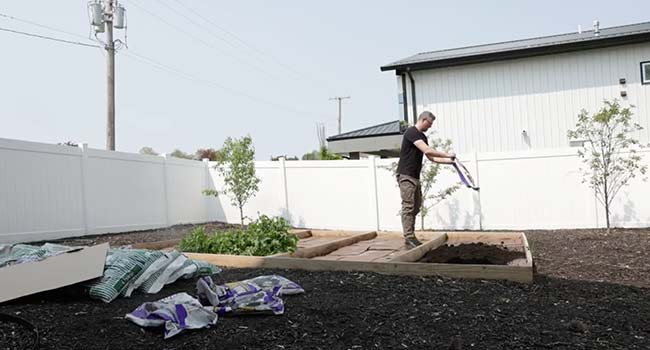
Flatten the compost by packing it in using a shovel, then give it a good soak.

Next, cover that layer with good soil and likewise pack it in and give it a soak. Now you’re ready for planting.
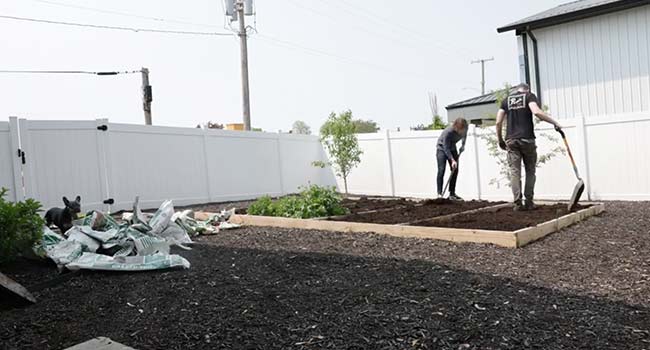
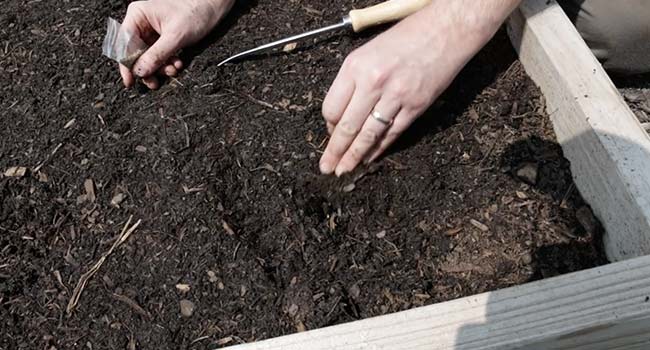
When planting, there are a few rules of thumb. First, know what plant hardiness zone you are in. Then, add your root vegetable seeds 3 inches apart from one another and in rows. They say that you only go down into the soil 3 times the size of the seed. I’m not sure that is gospel, so feel free to do what you are most comfortable with. I went down 1 to 2 inches. Be sure to cover the seeds with the soil you removed to plant the seed.
For bigger plants like peppers and beans, add your seeds 6-12 inches apart from one another. Finally, large plants like corn and cabbage go 12-18 inches apart from one another. Give the ground a suitable hose down to saturate the ground.
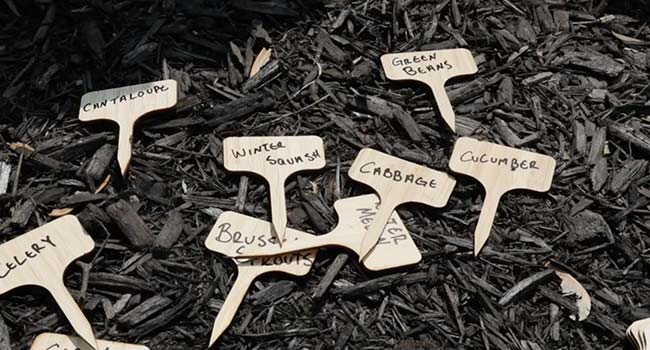
Lastly, be sure to label each row of what you planted there.
Wrapping Up
I just finished doing this garden a few weeks ago, and my goal is to do a midway recap and final recap and then feature recipes from freshly picked vegetables and fruit. Thank you for going on this journey with me. Please remember to subscribe to my YouTube Channel.

Chef Notes + Tips
- Charles Dowding says the cardboard takes 8 to 12 weeks to break down completely.
- This process will also work for pre-planted plants that are partially grown.
- Some weeds will still pop through, but it will be manageable and minuscule compared to a tilled garden.
- They say it’s best to start this process 10-12 weeks before you want to start planting.
- Once plants start to pop up, you can cover them with straw, decomposed leaves, or wood chips to help suppress the weeds even more.
Chef, to grow your own and to know exactly what is in your food is a gift. Blessings on your parents for sharing their wisdom and help with you. Happy gardening and cooking.
Thank you so kindly!