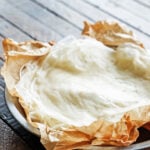
Making Lumpia Wrappers from scratch is easier than you think. Using 4 simple ingredients, a blender, and a non-stick pan, you end up with around 30 freezer-friendly wrappers to use for your next batch of spring rolls.
I completely understand that store-bought spring roll wrappers, pasta noodles, and bread dough are all easy to find at the grocery store. But to me, you just can’t beat homemade. I’ll take any excuse to make my own pasta and will even make waffle cones from scratch. That’s why I started making lumpia wrappers myself—it’s really easy and they’re way better than store-bought.
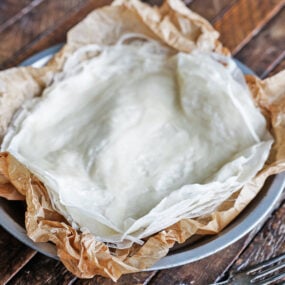
Homemade Lumpia Wrappers
Lumpia, or Filipino spring rolls, are made by stuffing thin, delicate wrappers with savory ingredients such as ground meat, shrimp, or vegetables. They’re fried until golden and crispy and often served at parties, family gatherings, or as an everyday comfort food.
This recipe focuses on the lumpia wrappers themselves, because honestly, homemade wrappers make all the difference. They’re softer, fresher, and more flexible than store-bought ones, which can often be dry or brittle. Plus, homemade wrappers are surprisingly easy to make—no rolling pin or special tools needed. Once you try them, it’s hard to go back to store-bought.
Lumpia wrappers do the same job as spring roll wrappers (made with rice flour) and egg roll wrappers, but they aren’t quite the same thing. Rather, they fall somewhere in between—they’re thin, soft, slightly chewy, and perfect for frying or using fresh.
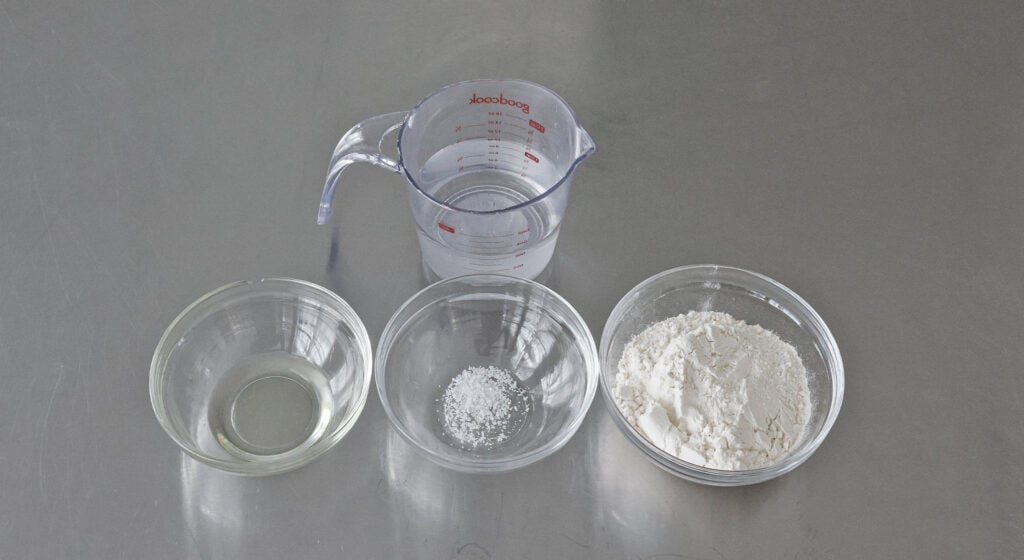
You only need four ingredients and no special equipment—just a blender and a non-stick pan. With no rolling or kneading involved, making a batch is surprisingly easy. You can prepare them ahead of the party or stock them in your freezer. However you fill them, these wrappers bring an extra layer of freshness that truly sets your lumpia apart.
Ingredients and Substitutions
- Flour – I used all-purpose flour to give the wrappers structure and the soft, slightly chewy texture fried lumpia is known for. I haven’t tested this with any other type of flour, but a 1:1 gluten-free flour blend might work as a substitute (the texture may be more delicate and prone to tearing).
- Salt – Just a pinch to balance the flavor.
- Water – Water turns the dough into a thin batter (almost like crepe batter). If the batter feels too thick to spread easily, whisk in 1 tablespoon of water at a time until it’s pourable but not watery.
- Oil – I use a neutral oil, such as avocado, grapeseed, or vegetable oil, in the batter to make the wrappers more flexible and moist. It also encourages the wrappers to turn slightly golden and prevents them from sticking while cooking.
How to Make Lumpia Wrappers
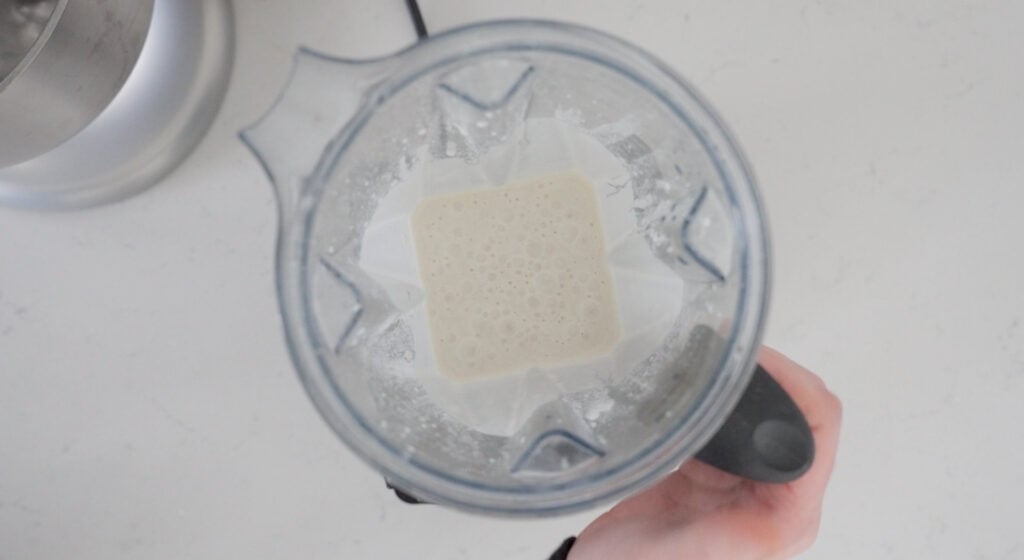
Blend the batter: First, I add all of the ingredients to a blender. I blend on high until the batter is completely smooth. Then, I transfer the batter to a bowl or container.
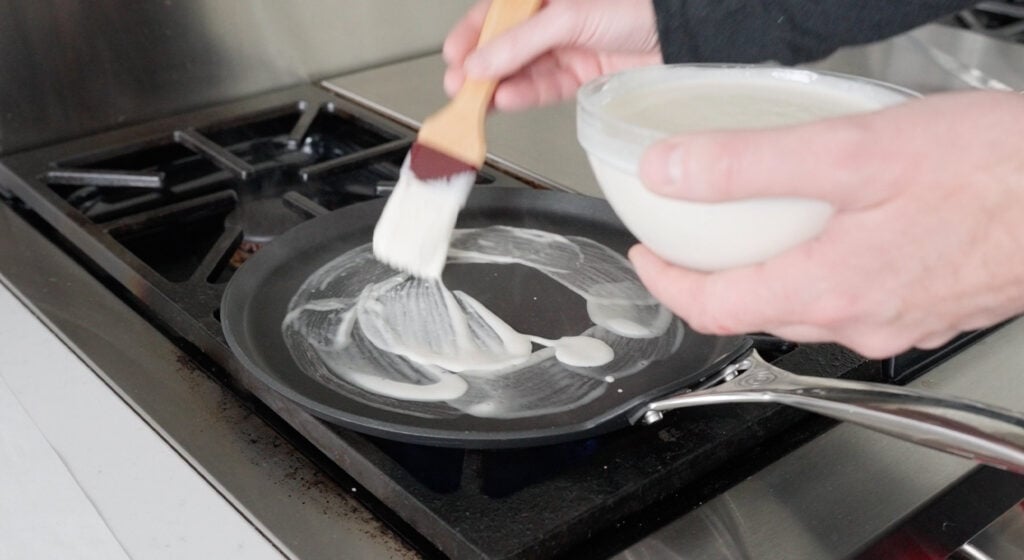
Brush the batter: Next, I heat a non-stick skillet over low to medium heat. Once hot, I use a pastry brush to brush a thin layer of batter in a circular motion directly onto the base of the pan, ensuring it covers the entire surface. I brush extra batter over any areas that look too thin.
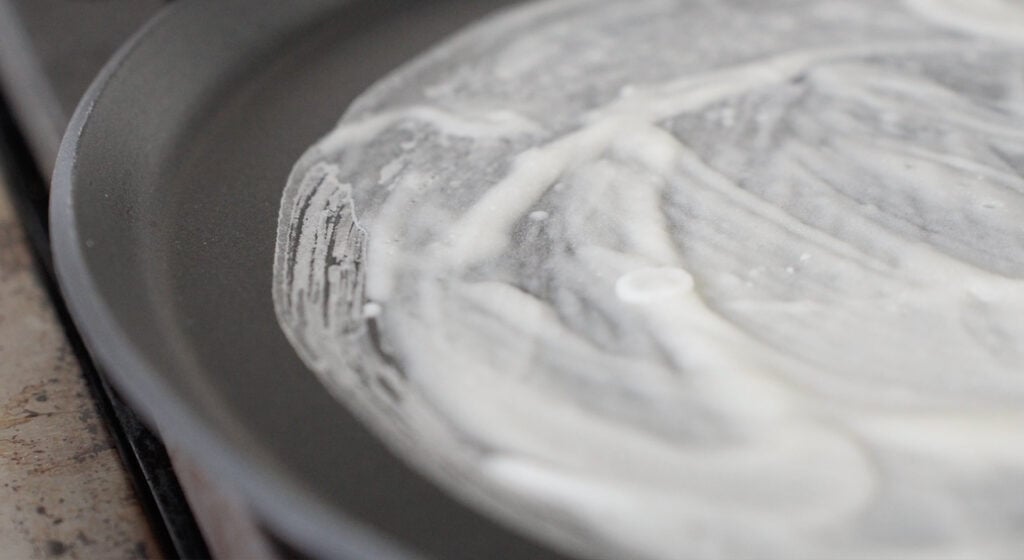
Cook the first side: I let the wrapper cook for 20 to 30 seconds or just until the edges look dry and start to lift from the pan. Using an offset spatula, I carefully lift one edge and gently pull the wrapper off the pan.
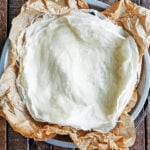
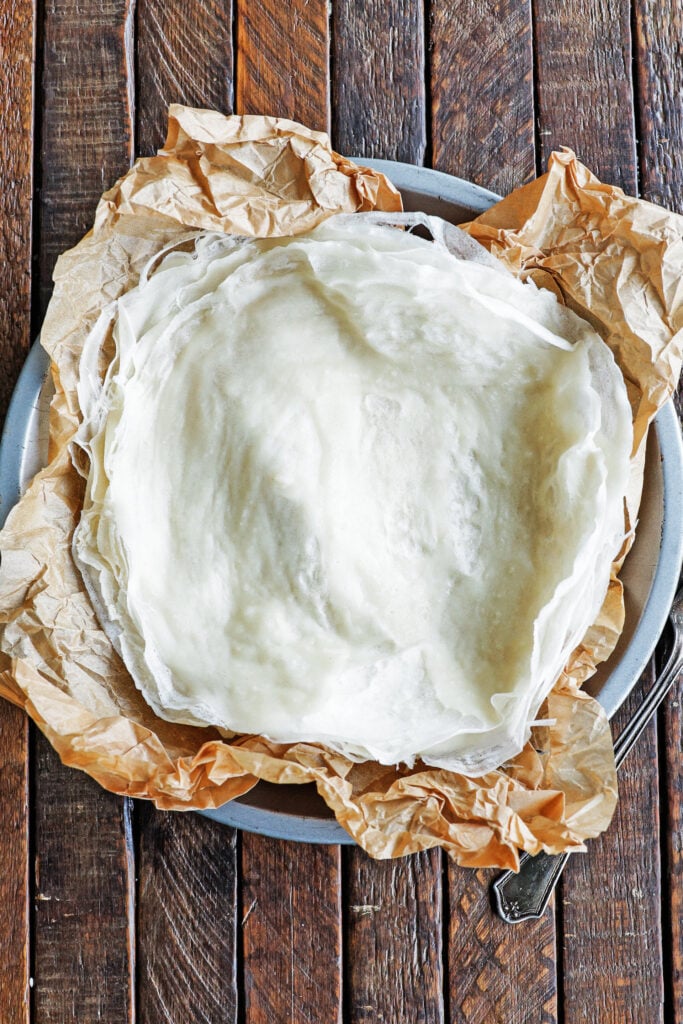
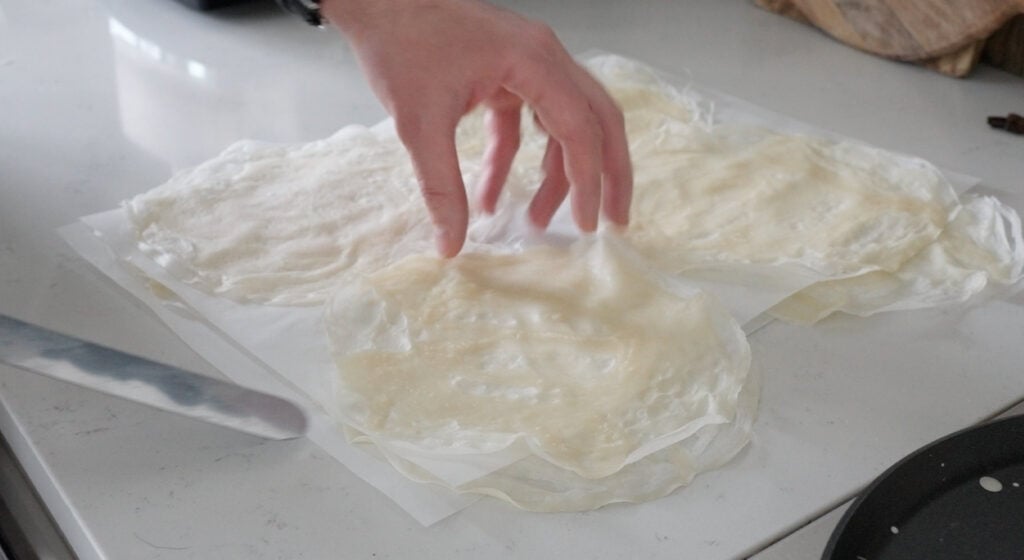
Flip, finish, and cool: I flip the wrapper and cook it for another 10 seconds on the other side. Then, I transfer it to a sheet of parchment paper. I repeat this process until I have used up all the batter.

Chef Tips + Notes
Always keep your pan at a consistent low to medium temperature when cooking the wrappers. As you get going, give each wrapper a few moments to set and lift away from the pan before trying to flip it. Just remind yourself that the first few wrappers are for practice—it might take a couple of tries to find your rhythm, but once you do, it’s surprisingly easy.
- Use a non-stick skillet: Even a cast iron or stainless steel pan tends to grab at the delicate wrappers, so cooking them on a non-stick surface is key. If you’re finding that they’re still sticking or tearing, your pan might not be non-stick enough, or the temperature could be too hot.
- Are the wrappers tearing? This usually means the batter layer was too thin or the wrapper wasn’t fully set before you peeled it from the pan. Instead, brush more batter onto the pan and wait until you see that the edges are dry and lifting on their own. If it still tears, try blending an extra tablespoon of flour into the batter.
- If you’re having trouble flipping the wrappers, let the first side cook for a few seconds longer. I like to run my offset spatula around the edge before gently lifting. If it still won’t budge, give it another 5 to 10 seconds and try again.
- Don’t stack the warm wrappers: This will only cause them to steam and stick to each other. Instead, lay them on a parchment-lined tray or cooling rack in a single layer so they can cool completely.
- If the wrappers start to dry out, cover them with a clean, damp towel to keep them pliable.
Serving Suggestions
Traditionally, these wrappers are used to make lumpia, a Filipino party snack. The wrappers are filled with a mixture of ground pork, shrimp, or vegetables, then deep-fried until golden and crispy. You can also use the wrappers to make fresh lumpia (lumpiang sariwa) or as a stand-in for spring roll wrappers.
Beyond tradition, there are many other fun ways to use these wrappers. They can be filled with savory fillings to make hand pies or samosa-inspired bites. They can also be sliced into strips and fried for a crunchy salad topping.
Dessert spring rolls could be fun, too. Fill the wrappers with mashed bananas and brown sugar before frying, then serve them with chocolate sauce for dipping.
Make-Ahead and Storage
Make-Ahead: You can make the batter in advance and store it in an airtight container in the fridge for up to 2 days. Before cooking the wrappers, give the batter a good stir to redistribute the ingredients.
How to Store: Once cooled, stack each wrapper between sheets of parchment paper and store them in a ziplock bag in the fridge for 3 to 4 days or in the freezer for up to 2 months. Thaw the frozen wrappers in the refrigerator overnight. I like to bring them to room temperature before rolling to make sure they’re soft and pliable.
More Homemade Dough Recipes

Lumpia Wrappers Recipe
Ingredients
- 1 cup flour
- ½ teaspoon salt
- 1 ½ cups water
- 2 tbsp oil
Instructions
- Add all the ingredients to a blender and blend on high until the batter is completely smooth. It should resemble crepe batter, or a thin pancake batter. Transfer it to a bowl or container
- Heat a non-stick skillet over low to medium heat and heat for 2 minutes.
- Using a pastry brush, brush the base of the pan in a circular motion, ensuring the batter covers all areas. You may need to brush areas that look overly thin.
- Cook for 20 to 30 seconds, then, using an offset spatula, carefully lift one edge and pull it up to remove it from the pan.
- Flip it over and cook for an additional 10 seconds.
- Set aside on parchment paper, making sure not to stack so that it can properly cool without sticking.
- Repeat the process until all the batter has been used.
Lumpia Wrappers Recipe