
Learning How to Carve a Chicken doesn’t have to be intimidating. In this clear step-by-step guide, I’ll show you how to carve the legs, thighs, wings, and breasts like a professional chef. Plus, I’m sharing expert tips on serving the chicken and storing leftovers to keep them perfectly juicy.
I couldn’t possibly create a guide on carving a whole chicken without my Roast Chicken Recipe. Learning how to roast a chicken is a valuable kitchen skill any home cook should learn. Not only are you left with juicy meat and crispy skin, but you can also use the leftovers to make my Chicken Gravy recipe.
Carving a Whole Chicken
Carving roast chicken might seem complicated or intimidating, but it’s a kitchen skill that belongs in your back pocket. Knowing how to cut a whole chicken properly allows you to enjoy every juicy piece to the fullest—the legs, thighs, wings, and breast slices, all with the skin still intact.
This technique isn’t just about looking fancy—it’s also for convenience. Carving your own bird is perfect for holiday dinners, quick weeknight meals, or meal prepping for the week ahead. It doesn’t hurt that buying and roasting a whole chicken rather than the individual pre-cut parts is the more budget-friendly option, too.
Whether you’re new to breaking down a whole roasted chicken or you want to refine your process, this guide details how it’s done in an easy, beginner-friendly format. By the end, you’ll be serving picture-perfect carved chicken and will gain skills that will stay with you for life.
Ingredients and Equipment Needed
- Equipment and tools – I prefer to use a boning knife for its flexibility around joints, but a sharp chef’s knife works, too. Having a carving fork or a clean kitchen towel handy also helps keep the chicken steady while you slice.
- Roasted chicken – This carving method works for whole roasted chicken, spatchcocked chicken, Cornish game hens, roasted turkey, and other poultry. If you aren’t roasting your own chicken, you can follow the steps to carve a store-bought rotisserie chicken instead.
How to Carve a Whole Chicken
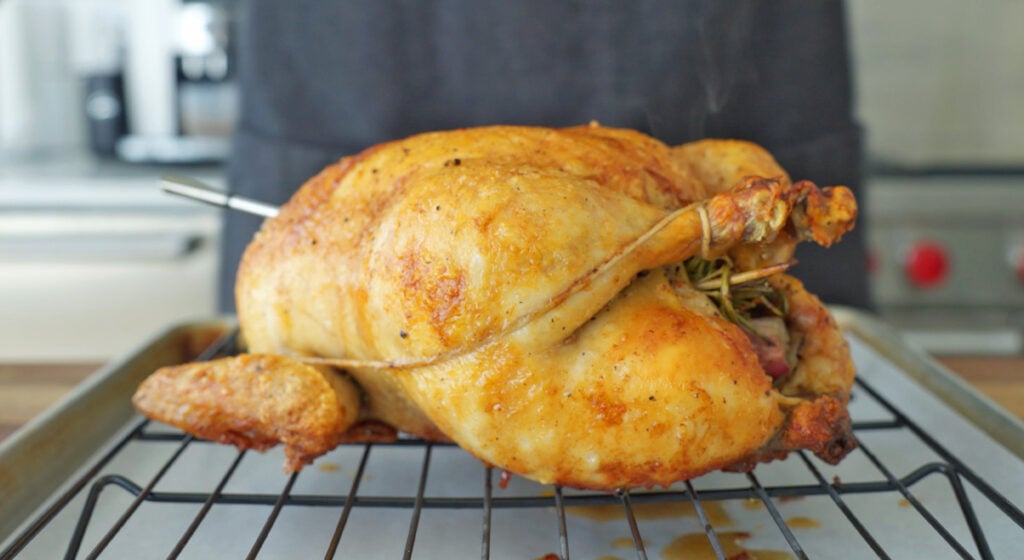
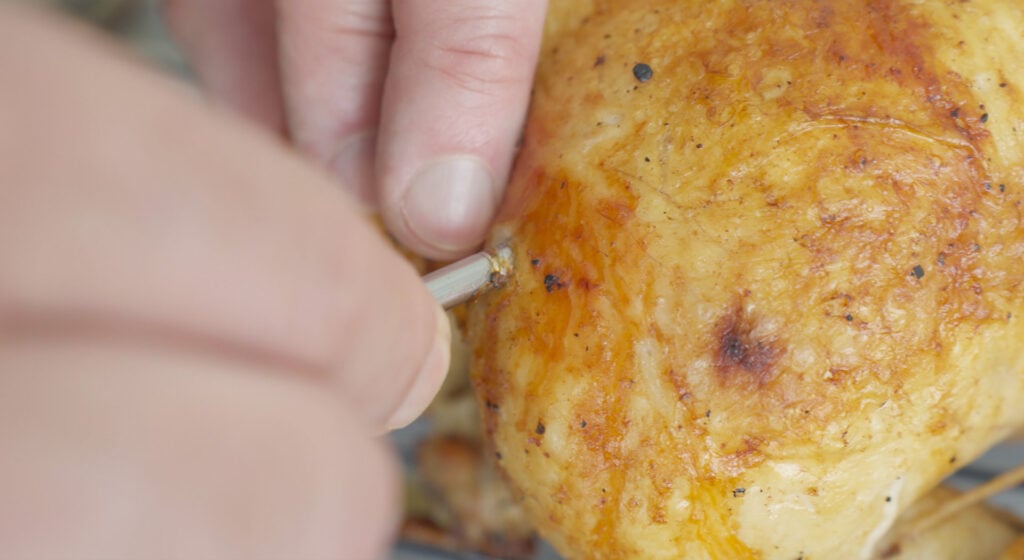
Prep and position: First, I remove the thermometer from the bird and snip away any butcher’s twine if my chicken was trussed. Then, I lay the chicken breast side up on a sturdy cutting board.
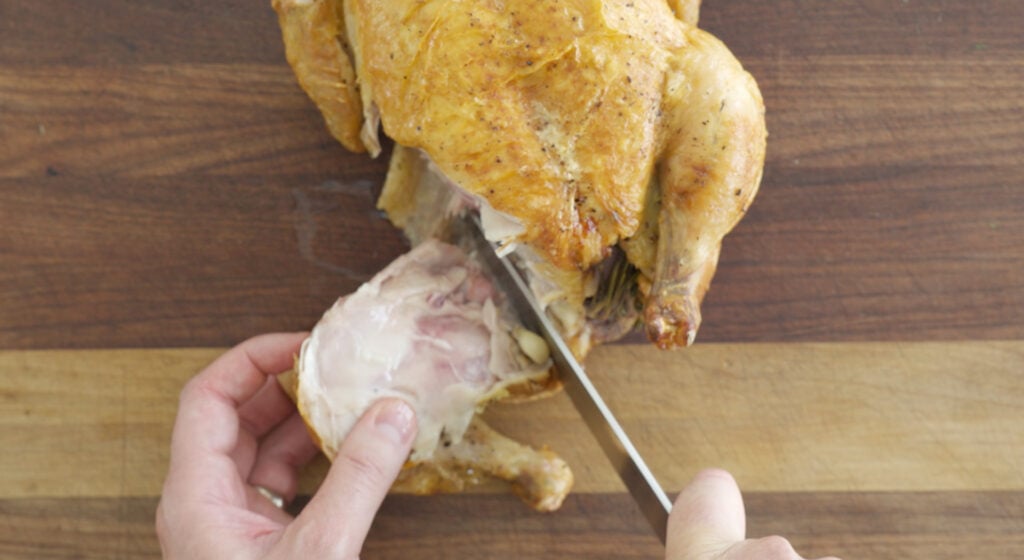
Separate the legs and thighs: Using a sharp knife, I slice through the skin between the leg and the breast to reveal the thigh joint. Then, I gently pull the leg outward until the joint “pops” and slide my knife right into that joint. This helps the leg-thigh piece separate with ease.
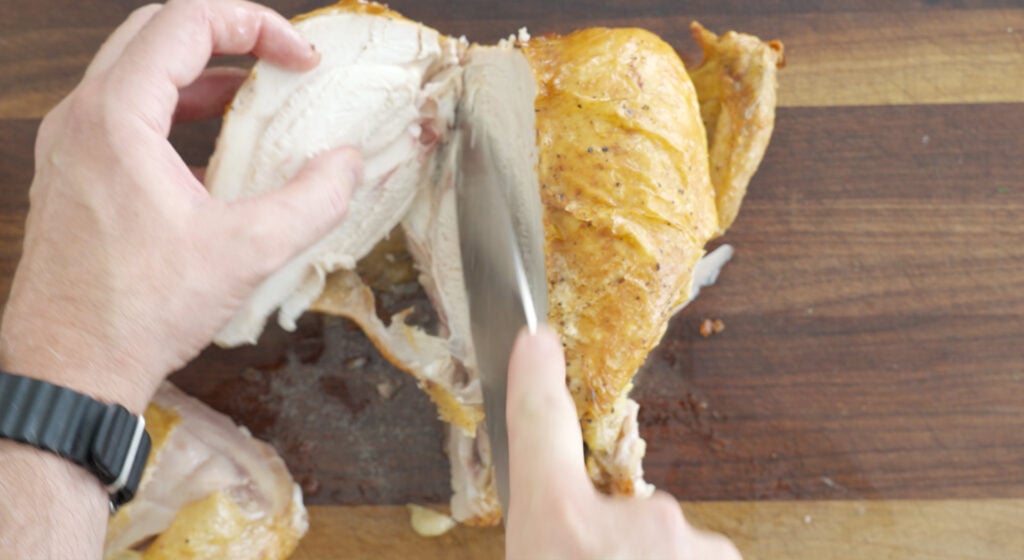
Carve the breast meat: I find the breastbone running down the center and make a long, clean cut just to one side. I work my knife down slowly, staying as close to the rib cage as possible. When I reach the wing joint, I push the breast back slightly to expose the bone and slice through it. I repeat the process on the other side, resulting in two meaty breast halves.
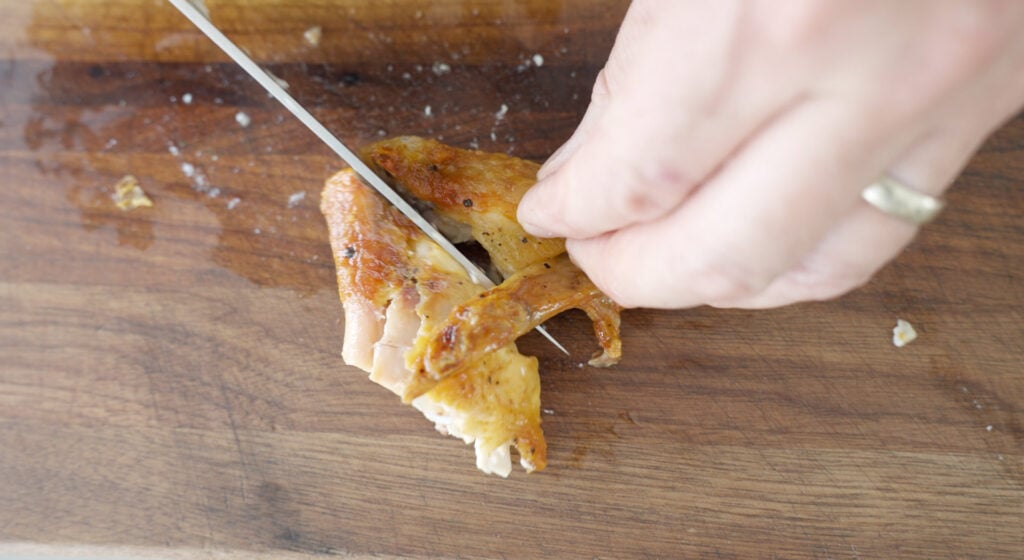
Separate the wings: I remove each wing by cutting through the joint where it meets the breast. This is a matter of preference, but I also remove the wing tip and separate the drumette from the flat.
Divide the legs: I cut through the joint that connects each leg-thigh piece to give me a drumstick and a separate thigh.
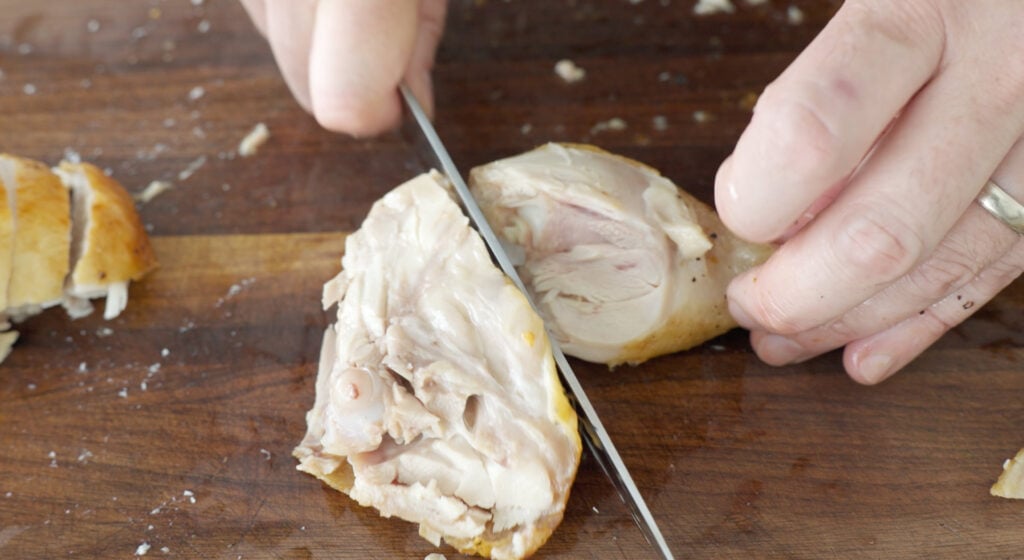
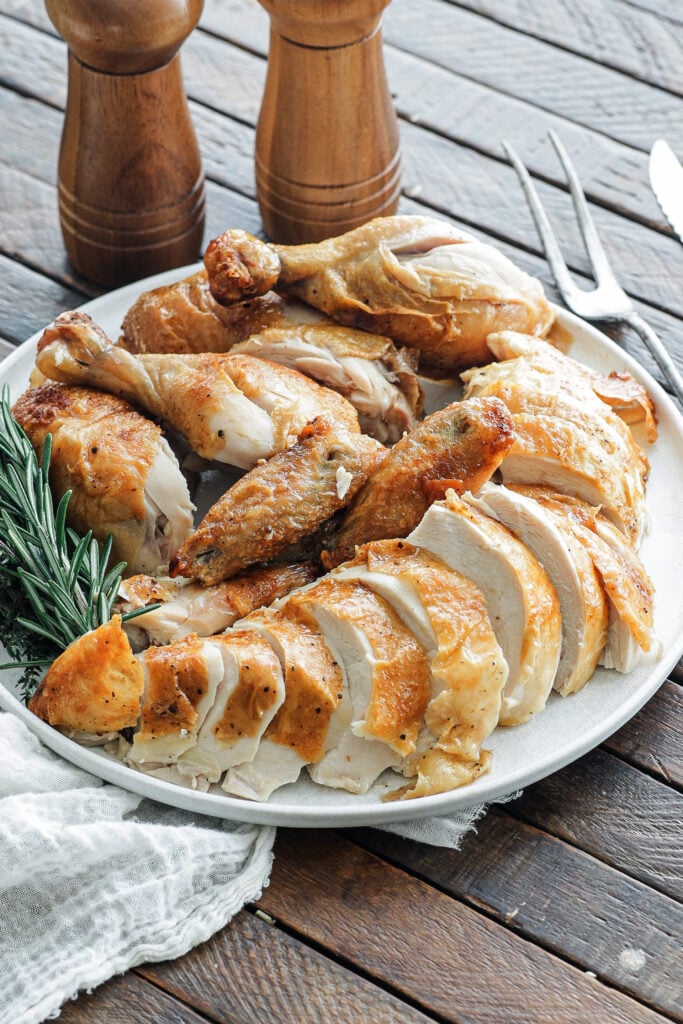
Slice the breasts: I place each breast skin-side up and slice crosswise into about ½-inch-thick pieces, keeping the skin intact.


Chef Tip + Notes
Always let the roasted chicken rest before you start carving. I know it’s tempting to dive in the second it comes out of the oven, but setting it aside for 10 to 15 minutes lets the juices settle back into the meat, which helps your slices stay juicy and flavorful. Skip this step, and you risk flooding your cutting board with those meaty juices and ending up with slightly dried-out meat.
- Stabilize the bird: Use a carving fork or grip the bird gently with a clean kitchen towel in your non-dominant hand to keep it steady while you carve.
- Know your joints: Always cut between the bones at the joints instead of trying to saw through bone. When you feel resistance, pause and wiggle the joint slightly until it “pops” right open for an easy cut.
- Slice breasts last: The breast meat tends to dry out faster, so carve the legs, thighs, and wings first to keep everything juicy and delicious.
- Keep the skin in place: To prevent the skin from sliding off the breast slices, carve with the chicken skin-side up and use a smooth, confident slicing motion without sawing back and forth.
- Save the scraps: Don’t toss any leftover carcass, bones, wing tips, and trimmings. These pieces are gold for homemade chicken stock. I just toss them in an airtight bag in the freezer until I’m ready to make stock.
Serving Suggestions
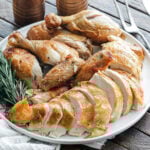
There are endless ways to enjoy the cuts from a whole roasted chicken. One of my favorite ways is for a comforting Sunday family dinner. Usually, I’ll plate the chicken with simple vegetable-forward side dishes, like mashed potatoes, and then top it all with a drizzle of gravy.
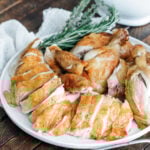
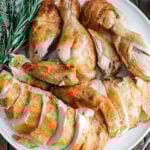
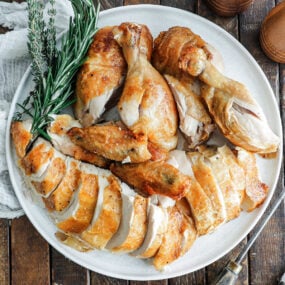
You can also carve a roast chicken for an extravagant holiday meal. For a well-presented feast, I’ll fan the breast slices skin side up across the center of a warm platter, nestle in the legs and thighs, and then finish by tucking in the wings last.
Make-Ahead and Storage
Make-Ahead: The chicken can be carved up to 30 minutes before serving. Arrange the cuts on a platter, cover it loosely with foil, and place it in a low-temperature oven (>200ºF) until it’s time to eat.
How to Store: Store the leftover carved chicken in an airtight container in the fridge for 3 to 4 days or in the freezer for up to 3 months.
How to Reheat: Place the chicken in a baking dish with a splash of water or broth, cover with foil, and reheat in a low oven (about 275°F) for 15 to 20 minutes or until it’s warmed through.
More How-To Guides
- How to Truss Beef (Tie a Roast)
- How to Make a Slurry
- How to Cut an Onion
- How to Make Roux
- How to Restore, Season, and Clean a Cast Iron Skillet

How to Carve a Chicken
Ingredients
- 1 roasted chicken
Instructions
- Remove the thermometer if you used one and trim away the butcher’s twine.
- Next up, lay it breast side up on a cutting board and using a chef knife or boning knife, slice between the leg and breast and expose that thigh bone, then simply cut in between it.
- For the breast, locate the sternum and slice down to the left of it and carve the meat, staying as close to the bone as possible until you get to the wing bone. Pop it back to expose it and cut through. Repeat the exact same process on the other side.
- Now, to present everything, starting with the wings. Remove the tip and slice between the drumette and the flat. Then, for legs, slice between the thigh and drum to expose the bone and cut between the joint.
- For the breasts, slice them about a half inch thick, ensuring the skin stays in place.
How to Carve a Chicken