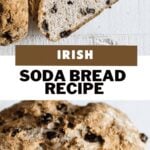
Irish Soda Bread Recipe

- Updated
- 18 comments

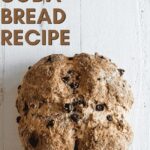
This homemade Irish soda bread is a dense and rustic loaf loaded with raisins that only takes about 5 minutes of prep. I use a simple mix of all-purpose flour, whole wheat flour, buttermilk, and baking soda for a bread that is ready in under an hour.
A few times a year I get on a serious bread baking kick and this is usually the first one I make. If you have tried my Irish beef stew or my corned beef and cabbage, you know I go all in for St. Patrick’s Day. This soda bread completes that whole spread and honestly it might be the easiest bread I have ever made. Six ingredients, no yeast, no proofing, no waiting around.
Irish Soda Bread
Irish soda bread dates back to the 1830s when baking soda first became available in Ireland. Farmers and their families needed bread that was quick and affordable, and since most Irish homes had simple hearth ovens that could not sustain the high heat needed for yeast breads, baking soda was the perfect solution.
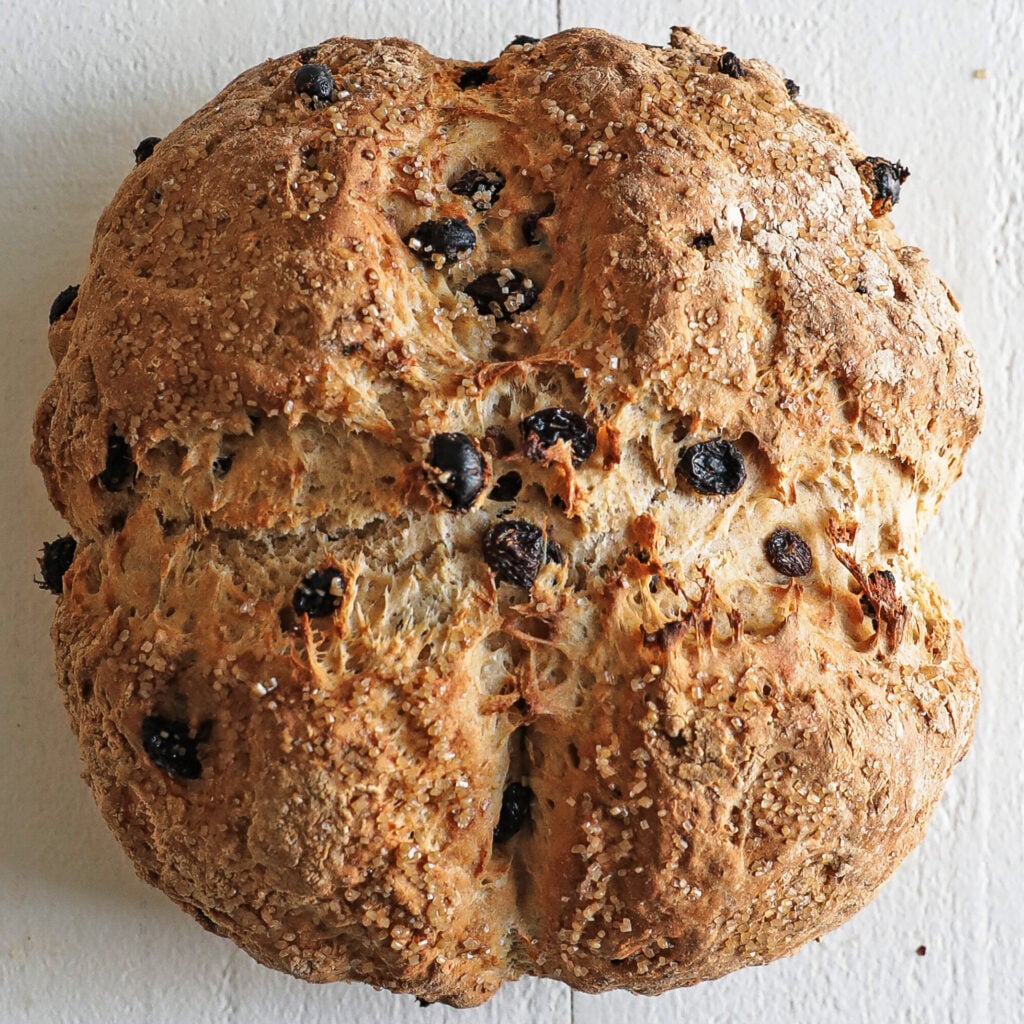
In Ireland this bread is better known as brown bread because it traditionally uses a combination of whole wheat and white flour. The cross scored on top is said to ward off evil spirits and let the fairies out, though as a Chef I would say it also serves the practical purpose of helping heat reach the center of the loaf.
I have been making this bread for years and the thing I love most about it is how easy it is to make, you do not need a stand mixer, just a bowl and your hands. I use a 3:1 ratio of all-purpose flour to whole wheat flour, which gives me the classic dense crumb I want. The buttermilk reacts with the baking soda to create the rise, so there is real science behind why this works so well. My daughter loves tearing off chunks while it is still warm, and I can’t say I blame her because I do the same thing. So good!
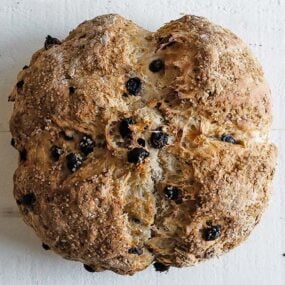
I like to finish mine with turbinado sugar on top, which I know is not traditional, but that little bit of sweetness against the salt in the bread creates a balance I really enjoy. You can skip it, but I promise if you try it once you are probably going to keep doing it. Roll up your sleeves, dust your counter with flour, and let’s bake this together in just 45 minutes!
Ingredients and Substitutions
This bread uses the same pantry staples that Irish families have used for nearly 200 years, and every single one plays a role in the final loaf.
Flour – I use a 3 to 1 ratio of all-purpose flour to whole wheat flour. You could do a 50/50 split for a heartier loaf, but I prefer the lighter texture this ratio gives. Make sure to sift both flours together to remove any lumps.
Baking Soda – This is the leavening agent. It reacts with the acid in the buttermilk to produce carbon dioxide, which is what makes the bread rise. Do not substitute baking powder here, they are not the same thing.
Sea Salt – I add this after sifting because the coarse grains will not pass through the sifter.
Buttermilk – Cold homemade buttermilk is essential. If you do not have any on hand, whisk together 1 tablespoon of white vinegar or lemon juice with 1 cup of whole milk and let it sit for 5 minutes.
Egg – One egg adds a little fat and color to the crumb. It also helps bind the dough together.
Raisins – I load mine up with raisins but you can swap them for currants or caraway seeds, or use a combination. All of those are traditional in Irish soda bread.
Turbinado Sugar (optional) – I sprinkle this on top before baking. It is not traditional but I love the crunch and sweetness it adds.
How to Make Irish Soda Bread
Preheat the oven: I set my oven to 400 degrees so it is fully heated by the time the dough is ready.
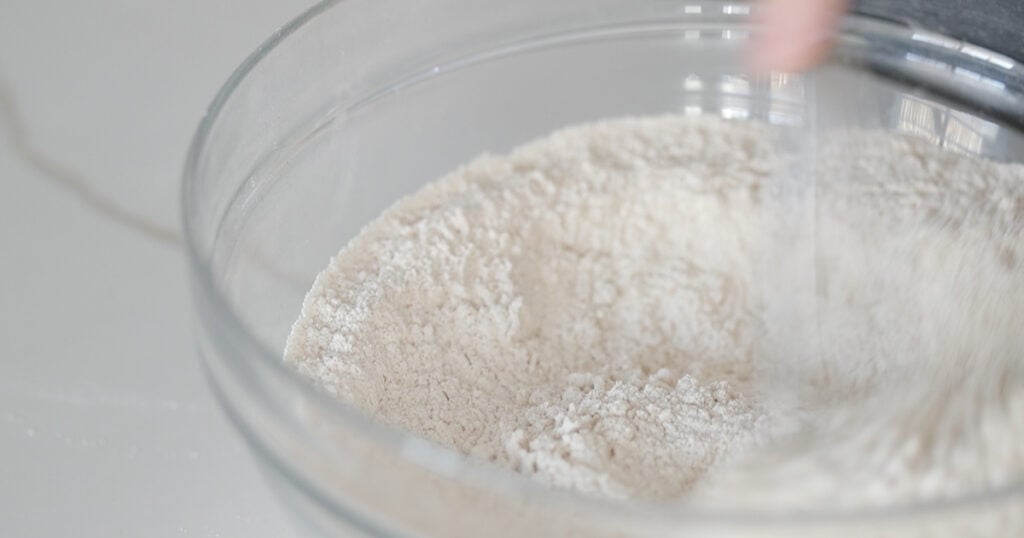
Sift the dry ingredients: I add the all-purpose flour, whole wheat flour, and baking soda to a large mixing bowl and sift everything together. I add the sea salt after sifting and whisk until completely combined.
Form a well: I push the dry ingredients to the sides and form a well right in the center, just like making fresh pasta.
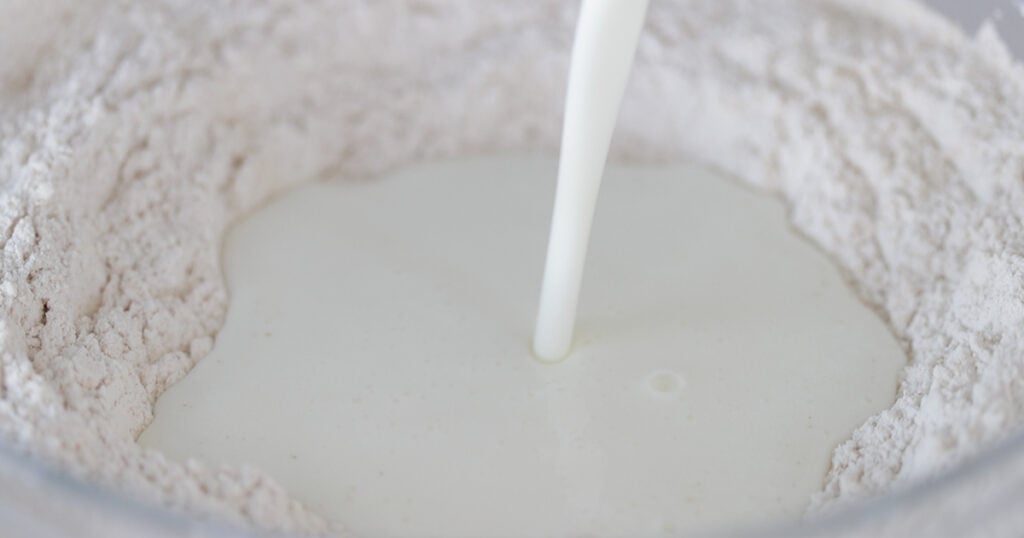
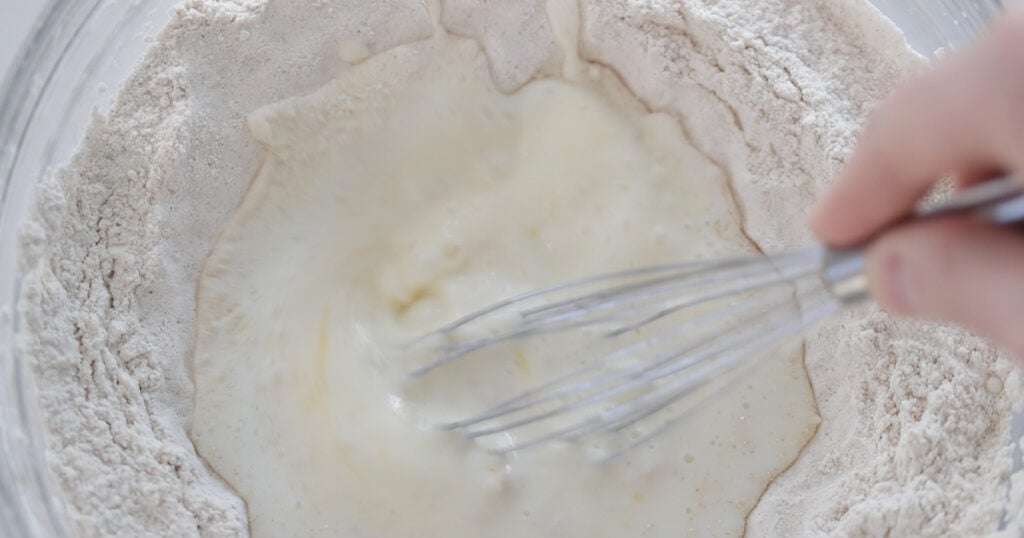
Add the wet ingredients: I pour cold buttermilk into the well and crack in one egg. I whisk the egg into the buttermilk until completely combined, keeping it in the center of the well.
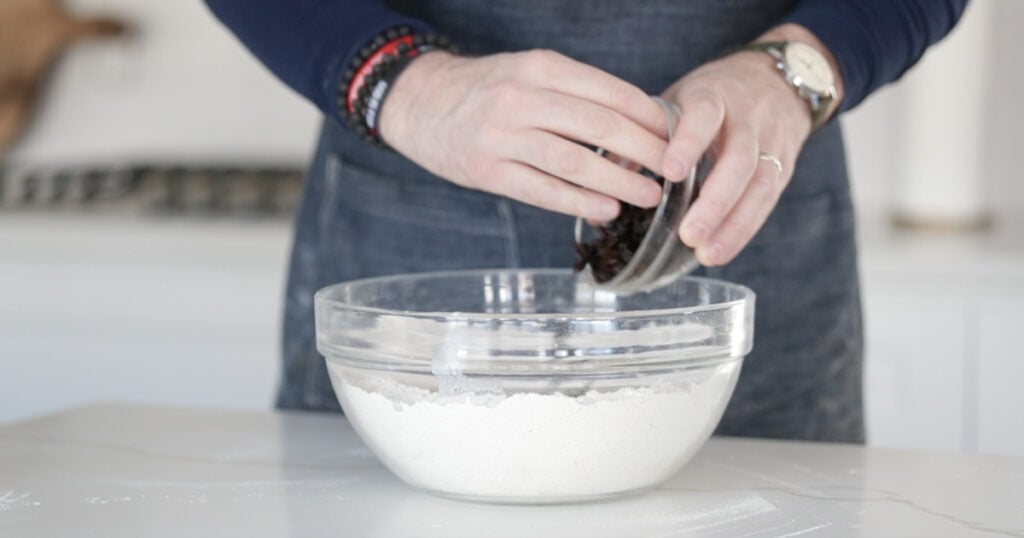
Add the raisins: I pour the raisins right in and then it is time to get your hands in there.
Mix the dough by hand: I roll up my sleeves and work everything together with my hands until it forms a soft dough. It should not be too wet or too dry. You could use a spoon, but there is something old school and rustic about using your hands and I like knowing exactly how the dough feels.
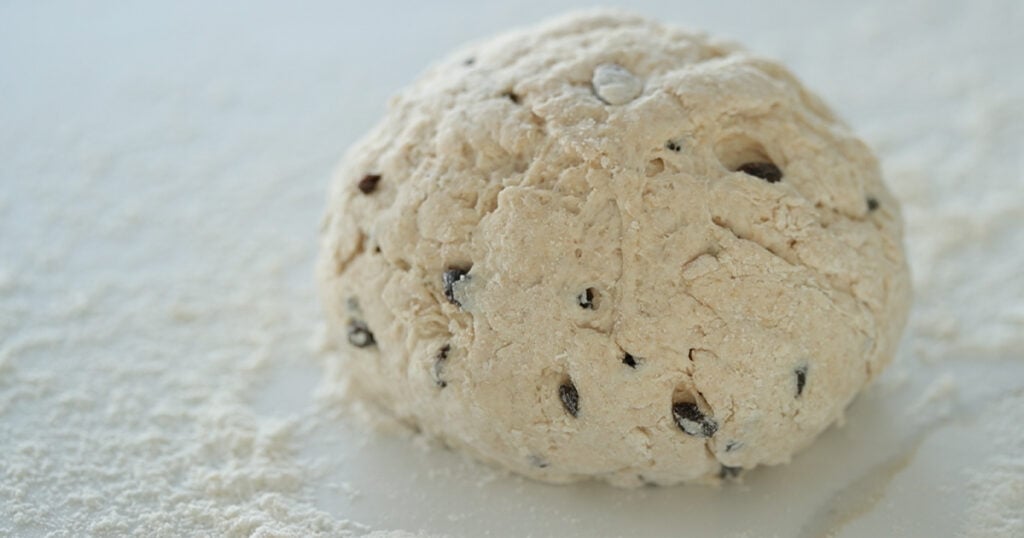
Shape the loaf: I sprinkle flour on a clean surface and transfer the dough over. I use a cupping motion, pinching the bottom with the outside of my hands and pushing up to form a round ball.

Transfer to the pan: I place the dough onto a sheet tray lined with parchment paper and gently flatten it so it is about 2 to 3 inches thick. I do not press it down too far because I want the bread to get a nice spring in the oven.
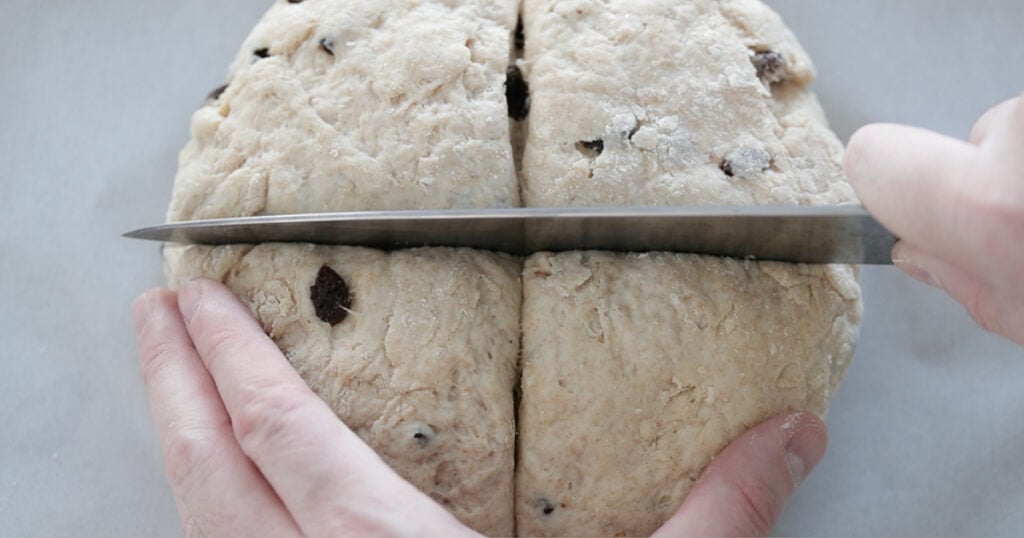
Score the top: I grab a sharp chef knife and slice a deep cross into the top, about three quarters to one inch deep.
Add sugar (optional): I sprinkle 1 to 2 tablespoons of turbinado or coarse sugar over the top at this point.
Bake: I bake at 400 degrees for 35 to 40 minutes until the top is golden brown and the bread sounds hollow when I tap the bottom.
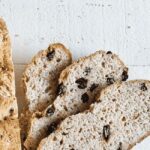
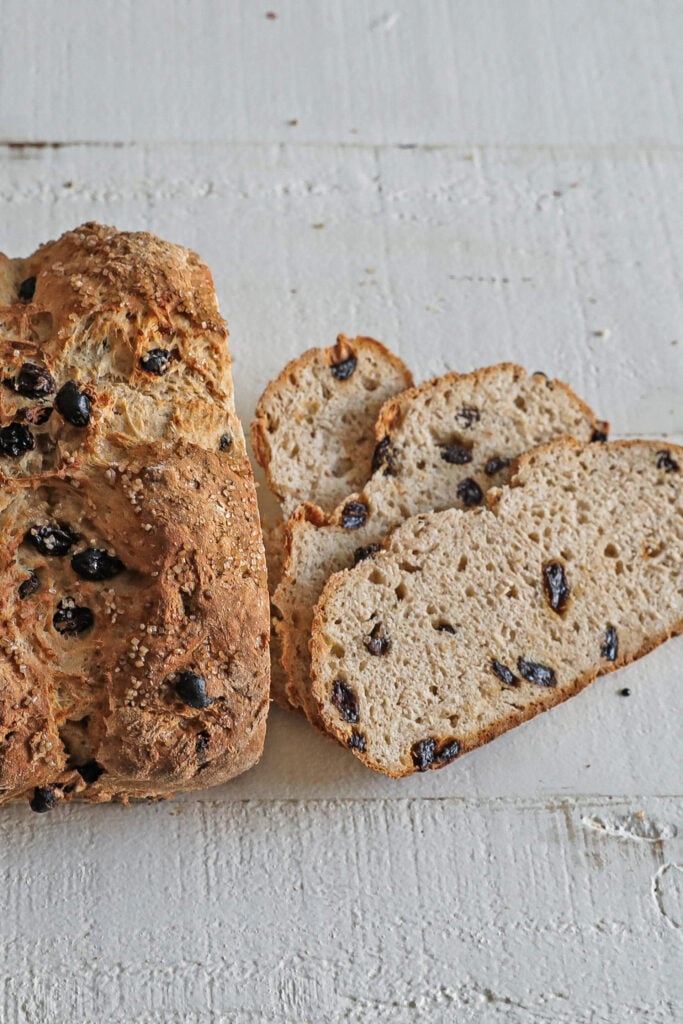
Cool before slicing: I let the bread cool to room temperature before slicing with a serrated knife. This is the hardest part because it smells incredible, but cutting into it too early will compress the crumb.


chef tip + notes
Soda bread is one of the most straightforward breads you will ever make, but there are a few things that will take yours from good to great. The sifting matters more than you think because evenly distributed baking soda means an even rise. And mixing by hand gives you control over the texture that a machine just can’t replicate. These two things are non-negotiable.
- Check the internal temperature: I pull the bread when it hits 195 degrees internally. That is the sweet spot for a fully cooked center without drying out the crust.
- Do not overmix: Once the dough comes together, stop. Overworking it will make the bread tough. You want it just combined, with a slightly shaggy texture.
- Scoring depth matters: Go three quarters to one inch deep with your cross. Too shallow and the heat will not penetrate the center. Too deep and the loaf can split apart while baking.
- Dry dough fix: If the dough is a little dry, wet your hands instead of adding water to the bowl. This gives you more control and prevents the dough from getting too sticky in one spot.
Serving Suggestions
On St. Patrick’s Day I like making a bunch of classic recipes, starting with my Dublin coddle, my homemade shepherd’s pie, and a platter of homemade Irish-style bangers. This soda bread sits right in the middle of the table. Since I always have friends and family over, I usually make a second loaf, just in case.
On regular weeknights I slice it thick and serve it with homemade butter or honey butter alongside a bowl of Mulligan stew. My wife likes to toast slices the next morning for breakfast with a little jam, and honestly that might be the best way to eat it. I love a day-old soda bread, toasted with butter, oh… my, it just hits different.
Make-Ahead and Storage
Make-Ahead: I recommend serving this bread the same day for the best texture, but you can make it up to 1 day ahead.
How to Store: I cover it and keep it at room temperature for up to 3 days. It will also keep in the refrigerator covered for up to 5 days. This bread freezes well wrapped tightly for up to 3 months. I thaw it in the refrigerator for 1 day before serving.
How to Reheat: I wrap slices in foil and warm them in a 350 degree oven for about 10 minutes, or just pop them in the toaster.
More Homemade Bread Recipes

Video
Homemade Irish Soda Bread Recipe
Ingredients
- 3 cups all-purpose flour
- 1 cup whole wheat flour
- 1 teaspoon baking soda
- 1 teaspoon sea salt
- 2 cups buttermilk
- 1 egg
- ¾ cup raisins
Instructions
- Preheat the oven to 400°.
- In a large bowl sift together the flours, baking soda, and sea salt, and then whisk until combined.
- Form a well and add in the buttermilk and egg and whisk until the egg is mixed into the buttermilk.
- Pour in the raisins and then using your hands mix all of the ingredients together to form a dough.
- Transfer the dough to a clean surface dusted with flour and form it into a ball.
- Place the dough onto a cookie sheet tray lined with parchment paper and slightly flatten it, so that it’s about 2” to 3” thick.
- Using a knife make two slices about ¾” deep forming a cross.
- If you want, you can sprinkle on 1-2 tablespoons of turbinado or coarse sugar at this stage.
- Bake at 400° for 35-40 minutes or until browned on top and cooked in the center.
- Cool to room temperature before slicing and serving.
Sometimes I follow a recipe to a ‘T’ sometimes I experiment was wondering if I could use all all purpose flour …. How essential is the whole wheat ?
you could
Make this with the Irish Stew. Easy to do and tastes great.