The Best Homemade Artisan Bread Recipe

- Updated
- 314 comments
Learn how to make a simple and delicious Homemade Artisan Bread Recipe using only flour, water, salt, and yeast for the perfect loaf. You will be blown away at how delicious this is.
Baking bread is one of the most fulfilling and satisfying procedures that you can do. If you are looking for more tasty bread recipes, try my Zucchini Bread or Homemade Bagel Recipe.

Artisan Bread
Artisan bread is a simple-to-prepare few ingredient bread loaf that takes about 6-8 hours from start to finish to make. It consists of flour, salt, water, and yeast and can often use a starter as the natural yeast.
Artisan comes from the term artisanal, which implies that a food or beverage has been primarily handmade and created in small batches using traditional methods. my culinary point of view is to focus on classical techniques as it applies to homemade recipes from scratch, and this artisan bread recipe fits right in.
Bread Making Tools
While I have a few things like a bannaton proofing basket and a flour sack towel, you do not need these things to have a successful loaf. The main tools to make this are a bowl, towel, and a pot with a lid that can sustain high heat. Do not overthink bread making. If, for some reason, you do not have a scale, there are ways to look up how to convert ingredient weight to volume.
Ingredients and Substitutions
- Flour – I often use 00 or bread flour, but all-purpose flour can be used. In addition, I like to add wheat flour or other artisan wheat such as Kamut or Spelt.
- Water – You will need warm water between 98° and 100°.
- Salt – I use sea salt in all bread recipes, but kosher salt can be used.
- Yeast – You can use active dry yeast, instant yeast, or levain in this recipe.
How to Make Homemade Artisan Bread
To make this homemade bread recipe, you are looking at about 5 hours. If you do this recipe, you need to start in the morning to have it by dinner time.
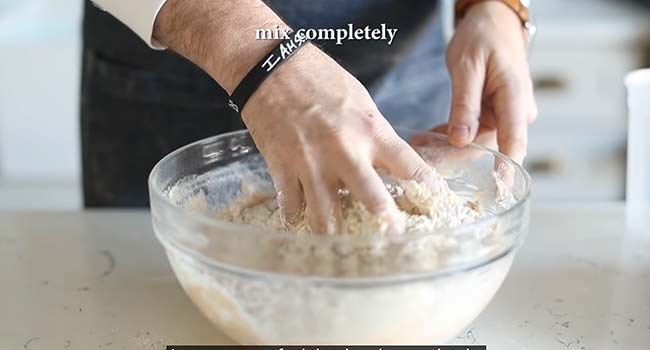
In a large bowl, combine with your hands both of the flours and water until completely mixed together. Let it rest for 10 minutes at room temperature.
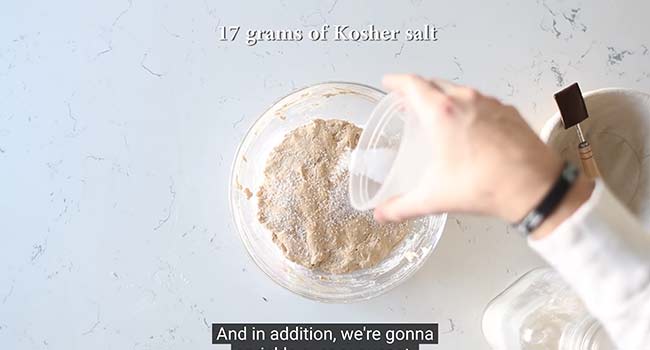
Next, sprinkle the salt and yeast overtop and mix it into the dough by pinching, stretching, and folding it over for 4 to 5 minutes.
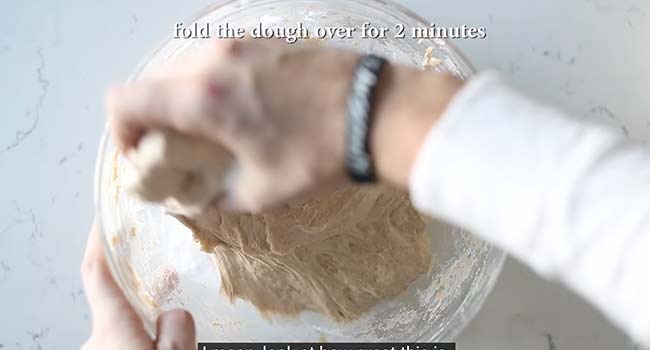
Cover with a towel or plastic wrap and rest the dough in a warm dark place for 15 to 20 minutes before kneading the dough by folding it over for 2 minutes. You’ll notice the dough rise during this time.
Cover and rest for 45 to 60 minutes and then fold the dough over for 2 minutes. The dough may need a few more folds if the gluten is not strengthening.

Cover and rest for 2 hours or until it has tripled in size.

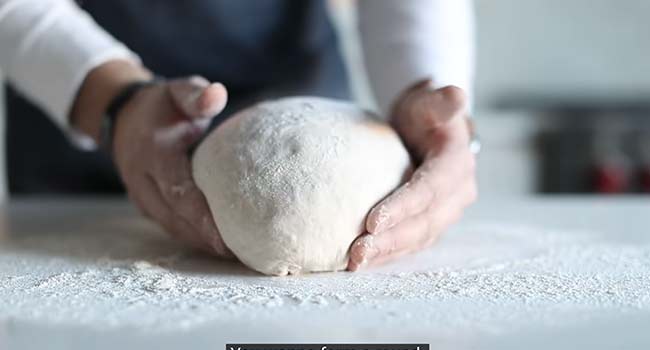
Dust a clean surface with flour and place the dough onto it. Sprinkle the top with flour and fold the dough over in thirds 3 to 4 times and then begin to mold the dough into a ball by cupping around the dough into the bottom.
Place the dough into a floured Benetton and cover, and rest for 60 minutes.

In the meantime, preheat the oven to 475° while placing the dutch oven pot into the oven during the entire preheating cycle or for at least 30 minutes.

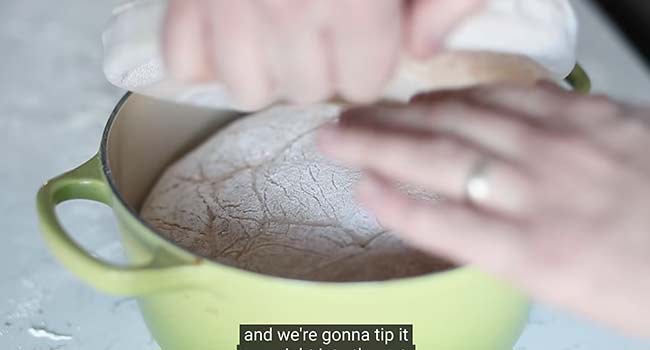
Flip the dough right into the hot Dutch oven pot, cover it and return it to the oven and bake for 30 minutes or until golden brown.
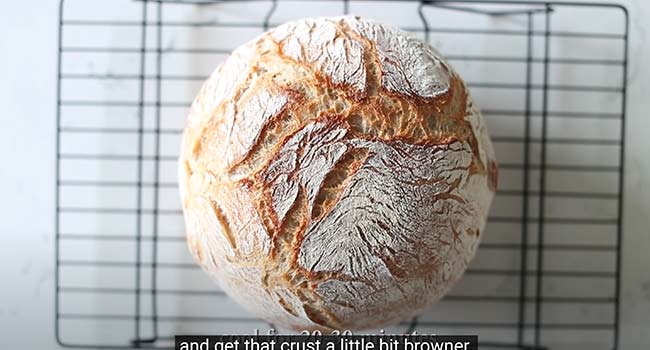
Let cool for 20 to 30 minutes before slicing and serving.
Make-Ahead and Storage
Make-Ahead – You can make this artisan bread recipe up to 1 day ahead of time.
How to Store – Cover and keep at room temperature for up to 5 days. You can freeze this loaf of bread for up to 6 months. Thaw it at room temperature until thawed before slicing and serving.

chef notes + Tips
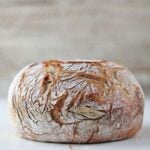
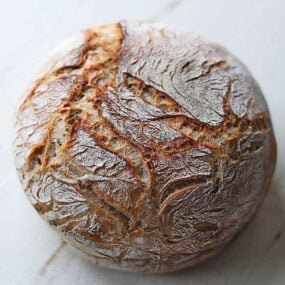
- The bread should be light and fluffy inside with a beautiful hard crust on the outside.
- Bread, when done right, is loaded with all of the minerals and vitamins you need to sustain life.
- When it comes to bread baking, I only like to use a gram scale for its precision.
- You can also transfer the loaf to a sheet of parchment paper before transferring it into the dutch oven pot.
- It is not advised to do this in a stand mixer as it will tear the dough too much, relapsing the gluten strength.
More Bread Recipes

Video
The Best Homemade Artisan Bread Recipe
Ingredients
- 560 grams of 00 bread flour
- 190 grams of whole wheat flour
- 600 grams of water at 98° to 100°
- 17 grams of Kosher salt
- 3 grams of active yeast
Instructions
- In a large bowl, combine with your hands both of the flours and water until completely mixed together. Let rest for 10 minutes.
- Next, sprinkle the salt and yeast overtop and mix it into the dough by pinching, stretching, and folding the dough over for 4 to 5 minutes.
- Cover and rest the dough in a warm dark place for 15 to 20 minutes before folding the dough over for 2 minutes.
- Cover and rest for 45 to 60 minutes and then fold the dough over for 2 minutes. The dough may need a few more folds if the gluten is not strengthening.
- Cover and rest for 2 hours or until it has tripled in size.
- Dust a clean surface with flour and place the dough onto it. Sprinkle the top with flour and fold the dough over in thirds 3 to 4 times and then begin to mold the dough into a ball by cupping around the dough into the bottom.
- Place the dough into a floured Benetton and cover, and rest for 60 minutes.
- In the meantime, place a small Dutch oven pot into the oven at 475° for at least 30 minutes.
- Flip the dough right into the hot Dutch oven pot, cover it and return it to the oven and bake for 30 minutes
- Let cool for 20 to 30 minutes before slicing and serving.
This is an awesome recipe. While doing the stretch and folds my wife asked me to add a head of roasted garlic, a cup of roasted sliced Kalamata olives, a cup of chopped walnuts and an 1/8 t of garlic powder and an 1/8 t of dried basil. I got rave reviews at the dinner table. Thanks chef for sharing this recipe. It takes a while to do it right but I was patient.
Sounds like great additions! Thanks for giving it a shot!
My first time baking a loaf of bread and it turned out perfectly! Didn’t have a Dutch oven so I used a pan with a removable handle with foil in a dome shape as a lid. Cook for 25-30 min then another 10-15 with foil off to brown. Couldn’t have been better !
Perfect! Thanks for trying it!
I have made this recipe 3 times. Once written exactly, the second time using less whole wheat flour and more bread flour, and this third time same as second but cutting the dough in half before shaping and final proofing. Each time the bread came out amazing! It’s just a great recipe! Thanks for sharing!
Perfect! GLad it worked for you!
Great. I tried and THINK it came out okay 🙂 Could I split this recipe in half, each ingredient?
Yes
How much active starter I use to replace the yeast?
Thank you for your amazing recepies!
15-20% of the total bread recipe
Is the temp in Celsius or Fahrenheit?
Fahrenheit
Followed all the instructions as written and it turned out perfect! Very delicious
Thank you!!
I’ve made this bread twice now and its super good! I just got a cast iron bread oven for Yule, so I was eager to try it out. The bread is delicious, crust is great, and I’m really enjoying the fact I don’t have to knead it for eighteen years. 10/10.
Fantastic! Thank you!
Great foolproof recipe! Was great to see how nice it turned out and delicious!
Fantastic! Thank you!