Breakfast & Brunch
It’s not just the most important meal of the day, breakfast can and should be eaten for any meal of the day. From classic recipes to simple and light, breakfast provides a myriad of wonderful options.
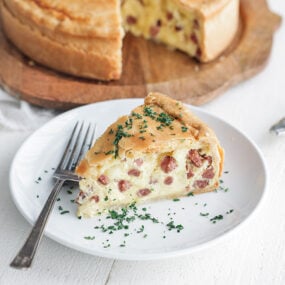
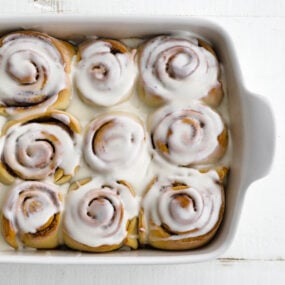
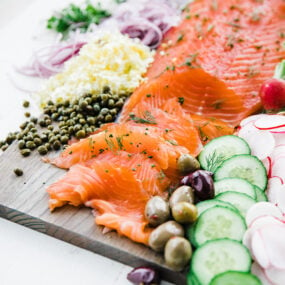
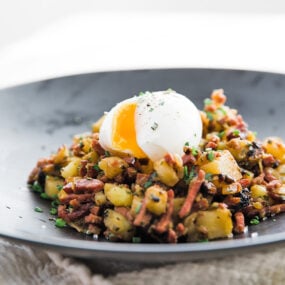
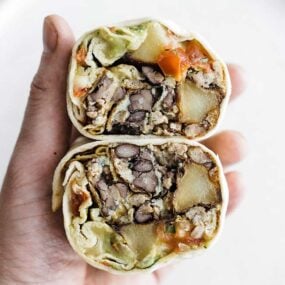
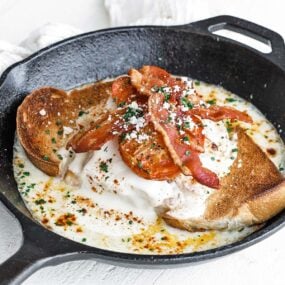
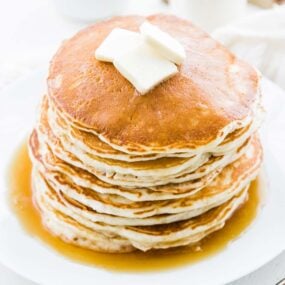
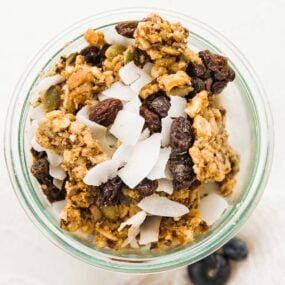
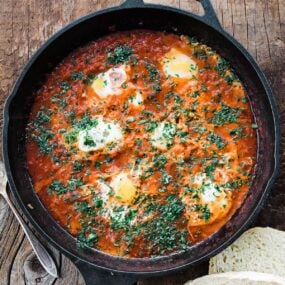
If you’re looking for something elegant like an Eggs Benedict or a Quiche Lorraine, or even just a big stack of Buttermilk Pancakes, or some Paleo Granola, there are plenty of delicious breakfast recipes to help you start your day off right.